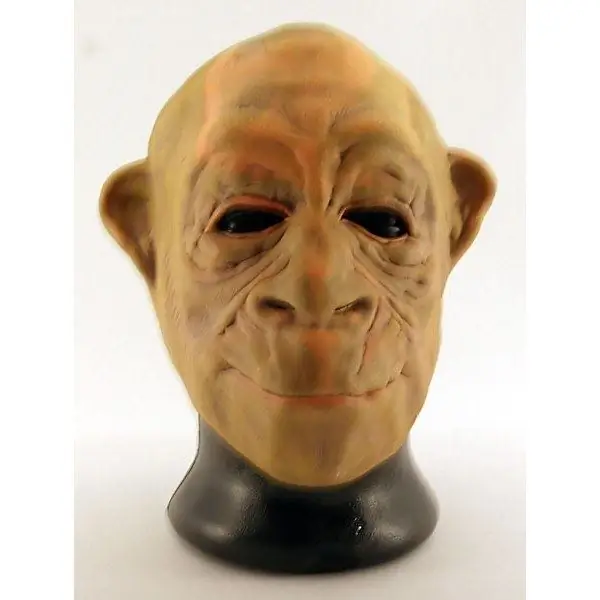
Those masks that are sold in stores have no personality and do not express the character of the character. That a bear, that a hare, that a fox have the same smile and a cute expression on their face. When you want to stand out from the crowd, you have to take matters into your own hands.

It is necessary
- - plasticine, clay;
- - paper;
- - thick white cardboard;
- - glue;
- - scissors;
- - petroleum jelly or silicone automotive spray lubricant;
- - gouache.
Instructions
Step 1
If you only need a monkey mask for one time, you can use the simplest and fastest method. Mark the outline of the future product on a sheet of white cardboard - take a drawing from a children's book as a sample. Cut it out, draw details: ears, eyebrows, nose, etc. Color the mask according to your idea of a monkey, make slits for the eyes, nose, mouth and elastic bands. Pass the strings through the slits. Such a mask will be short-lived, but it requires less time and materials. You can try to make the image of a monkey out of papier-mâché.
Step 2
For the papier-mâché mask, you need to create a shape for it. If you want to make a colorful piece of jewelry, the mold should be made of air-dried clay. To do this, smear your face with petroleum jelly, and then clay. Vaseline is difficult to wash off, if possible, replace it with a silicone spray of automotive lubricant. Wait until the clay is completely dry and remove the mold. It can also be made from plasticine, only you have to create the shape by hand, without smearing it on your face.
Step 3
If you have a doll with a head of a suitable size, you can use it as the basis of the mask. An ordinary balloon, inflated to a slightly larger size than a human head, can also serve as a shape. Then cut or tear the paper into small pieces, moisten with glue and apply to the mold. Do not spare the glue - the paper must be completely saturated with it in order to be plastic and to outline the shape well.
Step 4
Try to glue each layer neatly, do not allow bubbles and wrinkles. Apply four coats, let the mask dry. Then stick four more, leave to dry again. The last two layers should consist of white and thick paper so that the paint adheres well to the product and does not lose color. Leave the mask until the glue is completely dry.
Step 5
Paint it with gouache paints - they are dense and bright. When dry, the paint usually fades to prevent this from happening, cover the mask with a layer of clear varnish on wood. This will give it shine and extra durability. Now you can decorate it: glue the fur, velvet ears, etc. Don't forget the strings.


