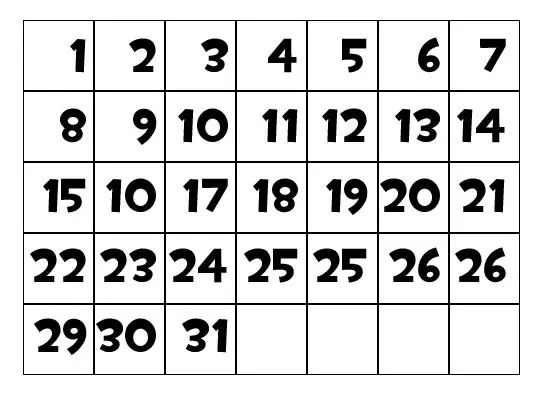
In Adobe Photoshop, unlike Corel Draw, there are no special tools for creating a calendar grid. Therefore, you have to, as they say, use the means at hand.

It is necessary
Russified version of Adobe Photoshop CS5
Instructions
Step 1
Open the program and create a new document: press the key combination Ctrl + N, in the "Width" and "Height" fields, specify 2.5 cm each (the size of one cell of the future grid), in the "Background content" field - "Transparent", and then click "OK".
Step 2
Make the main color white and use the Fill tool (hotkey G, switch between adjacent elements - Shift + G) paint over the document. Press Alt + Ctrl + C, in the "Width" field specify 19, "Height" - 14, anchor the canvas in the center and click "OK". The document will be enlarged so that a transparent area appears around the white square.
Step 3
Open the "Layers" tab (if it is not there, press F7), hold down Ctrl and click on the layer thumbnail. A selection area will appear in the work area around the white square. Press Ctrl + Shift + N to create a new layer, in the window that appears, immediately click "OK". Click D to make white the main color. Click the Edit> Stroke menu item. A window will open in which in the "Width" window, set 1 pixel and click "OK".
Step 4
Press Ctrl + D to deselect it and click on the eye icon next to Layer 1 to make it invisible. A square black border will remain on the document. Select the Move tool and drag it to the upper-left corner of the document, but not all the way.
Step 5
Hold Alt, Shift and the left button, and then drag the mouse down. Thus, you will create a duplicate of the black frame or, in other words, one more cell for the future calendar grid. Place a copy of the squares strictly under the original so that they have a common border. Create three more cells in the same way, and create a column based on all five.
Step 6
Go to the "Layers" tab, hold down Ctrl and select all the cells, right-click on them and click "Merge Layers". All cells are now merged into one column. Press Alt, Shift and the left button again and drag the mouse to the right. This will create another column. Set the copy so that it shares a border with the original column. Create five more columns in this way. Align them to the center of the document.
Step 7
The calendar grid is ready. It remains to fill it with numbers. Select the Type tool (hotkey T) and paste the numbers you want into the cells.


