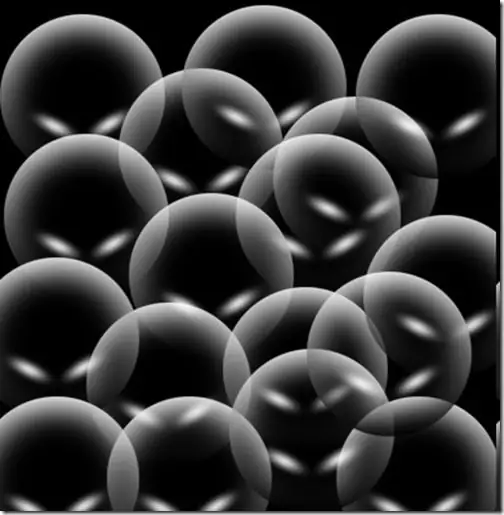
Sometimes a designer needs to draw a realistic soap bubble to decorate photographs, collages and promotional brochures. If you have a graphic editor Adobe Photoshop, drawing a soap bubble will not take you much time, and you can learn the technology of drawing in a few minutes.

Instructions
Step 1
To do this, open Photoshop and create a new 500x500 px document with a transparent background. Select the Fill option on the toolbar and fill the document with black, then on the same panel select the Ellipse Tool and, holding Ctrl to maintain the proportions, draw a circle.
Step 2
From the Edit menu, select the Stroke option and adjust the stroke of the circle so that its thickness is 10 pixels and the color is black.
Step 3
Open the Channels palette and right-click on the selected circle and then select the "Keep Selection" option to get a new alpha channel. Deselect (Select> Deselect).
Step 4
Apply a Gaussian blur filter to the object - for this, in the Filter menu, select the Gaussian Blur option with a blur diameter of 7.6 pixels. In the channels palette, then click on the alpha channel while holding down Ctrl to select it.
Step 5
Create a new layer on the layers palette and draw a new circle with the Elliptical Tool, and then add a stroke to it again (Edit> Stroke). This time, set the stroke color to white and set the width to 1 pixel.
Step 6
Open the Edit menu and select the Transform option, and then open the Image Scaling subsection. Place the white circle so that it is outside the black circle. Now reduce the opacity of the new white circle layer to 20%.
Step 7
Use the Brush Tool to paint a small light gray highlight inside the circle, and then apply a Distortion filter to it to the degree of -60%. Paint on the object with a 25 px soft brush and paint a strip of light on a new layer.
Step 8
Merge the layers and apply automatic color correction to the image (Shift + Ctrl + B). In order to use the drawn soap bubble on any photo without drawing it again, define it as a new brush - to do this, open the Edit menu and select the Define new brush section. Give your new brush a name. Now you can draw a soap bubble of any size at any time.


