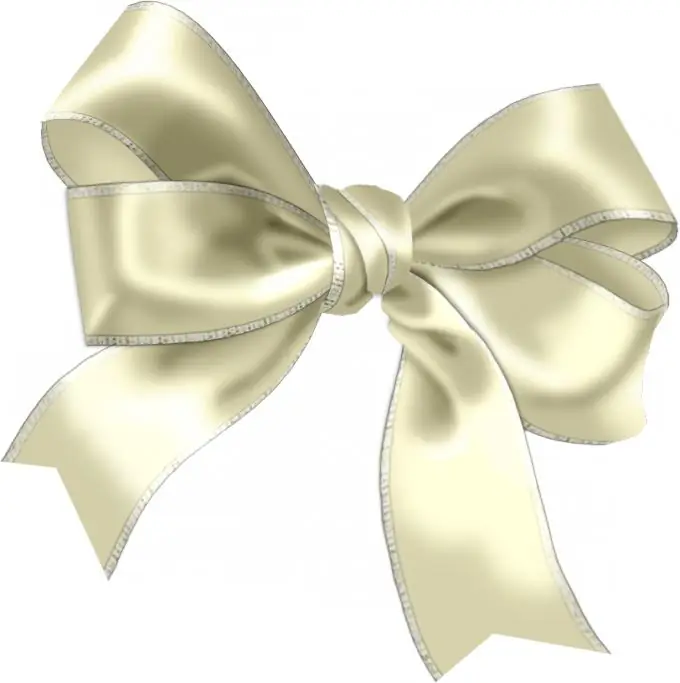
Even a novice user can draw a bright festive bow in Photoshop that can decorate a real virtual gift or postcard. You don't need any additional knowledge to do this. Drawing will take no more than half an hour, and the result will surprise you with its beauty.

Instructions
Step 1
Create in Photoshop a new document of any size with RGB color mode, and then create a new layer (Create New Layer). Select the Pen Tool from the Toolbox and draw a curving silhouette that resembles the shape of the left side of the tied bow - the shape should expand at one edge and narrow at the other.
Step 2
Right-click on the drawn silhouette and select the Make Selection option to create a selection. Set the Feather Radius to zero pixels, and then click OK. Select any color suitable for the future bow on the palette and fill the selected area using the Fill tool.
Step 3
Now select the Dodge Tool from the toolbar and highlight those areas of your future bow, which should be volumetric and on which the light should fall. Draw the shaded areas with the Burn Tool - you will notice that the shape has acquired volume.
Step 4
In the same way, draw the second half of the bow, which mirrors the first half, and then create a new fragment of the future bow - a ribbon going down from the knot. Process it with the Dodge Tool and Burn Tool, and then on a new layer draw the second tip of the ribbon coming out of the node. Then follow the same steps to add volume to the tape.
Step 5
Finally, draw the middle of the bow, its main knot, and use the Burn and Dodge tools to make it look three-dimensional. Draw a couple of folds on the knot. Draw the lower sides of both loops of the bow, and then darken them to show the shadow inside the bow.


