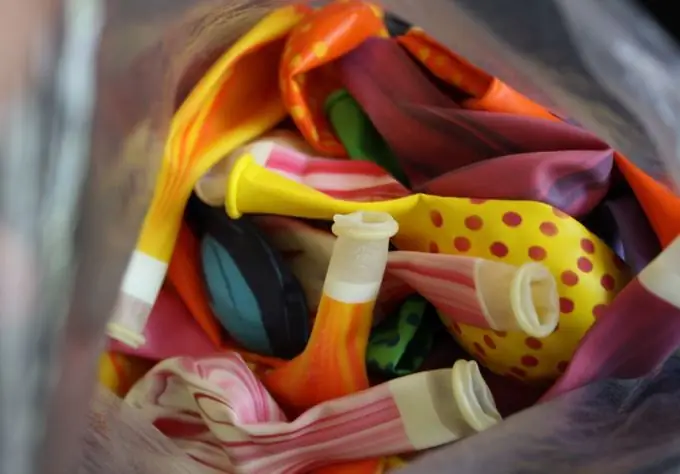
This balloon panel looks very beautiful and can be a great decoration for any occasion. You can do it yourself, however, you will have to tinker a little out of habit. Therefore, you should stock up on patience and time.

It is necessary
- -Balloons;
- - threads;
- -aluminum wire;
- -cardboard.
Instructions
Step 1
First of all, the balloons should be inflated. Moreover, it is better to do this for one person, because for an even and beautiful pattern, the balls must be of the same size. If you have conceived a large-sized panel and cannot do it alone - constantly check the dimensions before the ball is tied. Then inflate it again or on the contrary, release excess air.
Step 2
Create a frame for the panel. Thick aluminum wire will do. The length and width of the frame are calculated in accordance with the size of the balls so that the wire is ultimately not visible. Then create vertical or horizontal equidistant bars along the entire length of the frame. The markings also depend on the diameter of the balls. If the panel should stand on the floor, it is better to make horizontal rods, if you plan to hang it - vertical.
Step 3
Start attaching the balls to the frame. Best suited for such purposes is fishing line or rubber bands, which fasten the bills. When laying out the panel, start from the top row (for horizontal layout) or the left edge (for vertical layout, go down, immediately taking into account the drawing. That is, where the letter begins, a ball of a different color is immediately placed.
Step 4
If you do not immediately see how to arrange the balls to make a drawing, tie balls of the same color to the frame, but not too firmly - so that you can easily dismantle them later. Then mentally visualize the drawing and mark all the balls that need to be replaced with balls of a different color. Then start replacing them one at a time.
Step 5
Another way to put a picture is to cut the planned picture out of cardboard or plastic. Again, cut to match the geometric shape of the balls. Then apply the template to the panel as you work, inserting balls of the desired color in the appropriate places.


