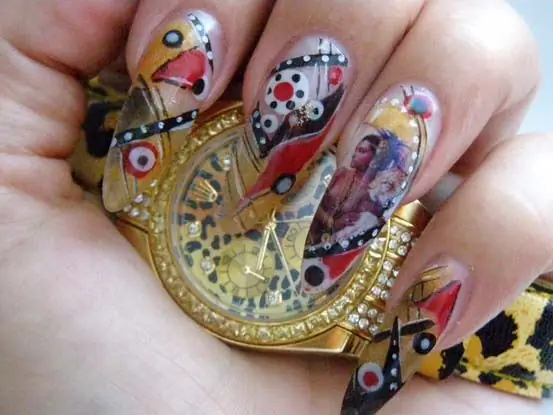
Beautiful manicure and well-groomed nails are the key to a complete and stylish image of a woman. A manicure demonstrates your neatness, striving for style and beauty even in the smallest details, and especially manicure attracts attention when a skillful design is created on the nails, and they resemble a work of art. Today there are many different possibilities for nail design - you can make a simple or French manicure, as well as order art painting on nails, pasting with rhinestones, images and artificial tattoos. In addition, you can create a photo design on your nails.

Instructions
Step 1
The advantages of photo nail design are that you can decorate your nails with absolutely any image, be it your loved one or a musical idol. In addition, there are ready-made pictures for photo nail design with landscapes, images of flowers, beautiful buildings and simple patterns and ornaments.
Step 2
In fact, you style your nails with very small photographs that match the size of the nail. If you create these photos yourself, print them on reasonably thin, soft, glossy paper.
Step 3
Transferring an image from a photo to a nail is very simple - apply a thin layer of foil glue or a top coat of manicure to suitable images. When the coating is dry, place the picture in a container of water and wait a few minutes.
Step 4
When the paper is wet, carefully peel off the paper layer from the photo so that you have a thin film with the image in your hands. Take your time, put a wet film on the surface of the nail, previously varnished in the color of the picture, and smooth it.
Step 5
The color of the varnish should contrast with the design of the photo design so that it stands out and is noticeable. After applying the varnish, secure it with a transparent base, and then apply the film with the image. Cut off the excess edges of the film that extend beyond the nail with sharp nail scissors.
Step 6
With a thin brush with a contrasting varnish, you can paint a frame around the image on your nails. Cover the finished picture with clear varnish to secure it to the nail.


