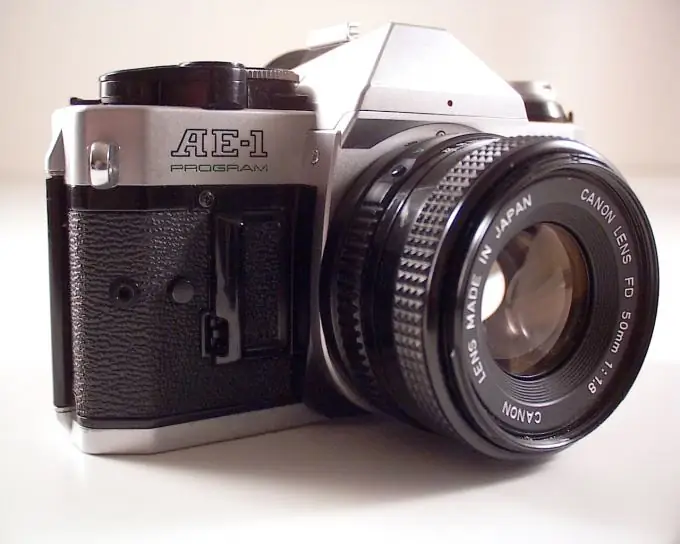
DSLRs differ from all others in that they have a direct sight. That is, you will photograph exactly what you see in the window of the sight, regardless of whether it is a film device or a digital one. A DSLR provides significantly more options than a digital point-and-shoot camera, primarily because you can independently adjust the settings and select peripheral devices. The film mirror apparatus also has its own peculiarities.

Instructions
Step 1
Regardless of whether you have a digital camera or a film camera - pick up the peripherals. These are lenses, light filters, flash. It is better to buy several different lenses so that you can change them depending on the shooting conditions. This is especially important if you have a film camera - there are no micro and macro options familiar to a modern photographer, everything is set manually. For a film camera it is very useful to buy another exposure meter, which shows the shooting parameters.
Step 2
Adjust light sensitivity. For outdoor shooting, the ISQ will be about 100, for indoor - 400, but these are average values. For a digital camera, it is very desirable to set the white balance. It's better to configure it manually. Take a sheet of white paper and place it next to the subject you intend to shoot so that the entire frame is white.
Step 3
Adjust shutter speed and aperture. This must be done on both digital and film cameras. On a film camera, both parameters are set manually, on a digital camera they can be linked so that when one changes, the other changes. Aperture and shutter speed on a film camera depends on the sensitivity of the film. Film devices are available with a jumping diaphragm and with an ordinary one. Devices with a jumping aperture, when you press the shooting button, first set the aperture to a predetermined value, and then produce the actual exposure. Cameras that do not have this mechanism may have trouble focusing in low light conditions.
Step 4
Therefore, in such conditions, the shooting sequence is as follows: first open the aperture fully and focus on it. After that, set the desired aperture, aim the camera at the subject and take macro photography in low light conditions, then the camera must be fixed on a tripod.
Step 5
On a film camera, you also need to set the distance. This is also done by aligning the dots on the lens rings. On a digital camera, you can rely on autofocus, but you can also set the focal length manually. Make sure that the subject you are shooting is in focus - that is, it looks as sharp as possible.
Step 6
The ability to “catch a frame” is necessary when shooting with any camera, for a “SLR” it is extremely important, especially for a film one, where it is very difficult to correct something when printing.
Step 7
If you have a digital apparatus, select the format that best suits your needs. This is usually tiff or raw. You can try other formats as well, but choose the ones that keep the best quality. As for film cameras, now there are few amateurs who develop film and print photographs themselves, although this is a very interesting activity that gives an opportunity to show their creative abilities.


