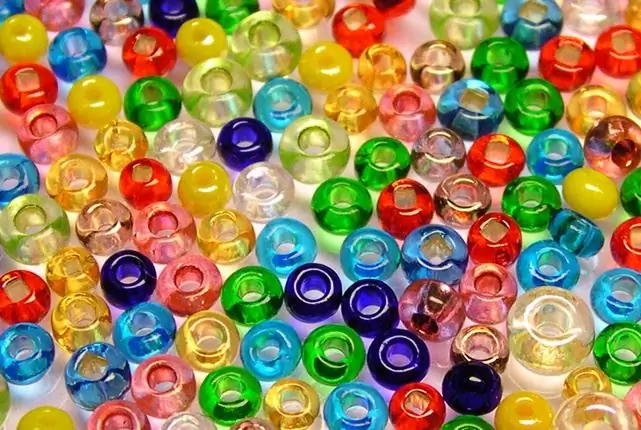
We are used to the fact that beads are used to create jewelry - bracelets, brooches, pendants. However, its texture and size can play in a new way in another needlework technique - embroidery. You can embroider whole pictures with multi-colored beads.

It is necessary
- - canvas;
- - embroidery hoop;
- - threads;
- - beads;
- - the scheme of the picture.
Instructions
Step 1
Select the fabric to embroider on. You can use a dense canvas designed for embroidery floss. Its cells are large enough so that they do not get tangled in the pattern, and if the picture is small, then you do not need to pull it over the hoop. You can also take regular fabric, but when choosing it, you need to take into account that too elastic materials are distorted during embroidery. If you take an ordinary fabric for the base, over it you need to sweep a rare canvas, which, after completing the work, is pulled along the threads from under the pattern. When choosing a base, it is worth remembering that if the picture does not fill the entire workspace, then it will have to be closed with embroidery floss (if you take a hard canvas).
Step 2
Select threads depending on the type of fabric. The thinner the material, the thinner the threads. In addition, they must match (ideally be the same) in color. Take the needles for embroidery that are thin enough to fit into the hole of the bead, and at the same time with a large enough eyelet (wide enough for the chosen thread).
Step 3
Fasten the base on a hoop or, if the picture is large, on a stretcher. In case you are embroidering on textured fabric, make sure that the hoop does not damage the surface.
Step 4
Pick up beads for the picture. Try to roughly calculate the required amount or buy a little more of each color than is required, so that later you will not experience problems if the store runs out of the required type of beads. In addition to beads of the same shape and size, you can use a larger one, as well as bugles and beads to highlight any fragment of the picture.
Step 5
To create large-area canvases, the "sewing by count" method is used. This stitch is the half of the stitch we use for cross stitching. It is more convenient to start work from the left corner of the picture and move in horizontal rows. Secure the thread to the canvas and bring it to the front side in the lower left corner of the first cell. Thread the needle through the bead and pass it to the upper right corner of the cage. The needle should then appear in the lower left corner of the next square in the same row. In this way, the entire first row of the pattern is embroidered.
Step 6
To move to a new row, withdraw the needle in the upper right corner of the cell. String the bead and sew the lower left corner. Thus, the seams alternate through one row - in even ones the needle goes from right to left from top to bottom, in odd ones - from left to right from bottom to top.
Step 7
When the picture is complete, secure the thread on the wrong side with a double knot. The finished canvas can be framed. To do this, the fabric is stretched over cardboard of the appropriate size, fixed with glue on the back side and inserted into the frame.


