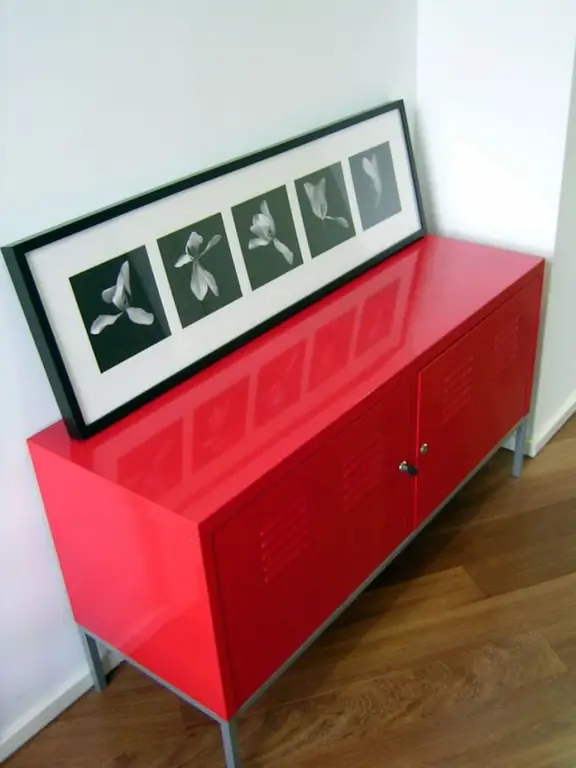
The need to restore chipboard furniture arises quite often. This task is within the power of even a person who has a very vague idea of carpentry work. Modern materials, including edging tape, greatly speed up and simplify the process. The edging tape is used to process the ends. It is made of resin-impregnated paper.

It is necessary
- - the furniture you want to renovate;
- - edging tape;
- - sandpaper;
- - ruler;
- - knife;
- - abrasive sponge;
- - iron;
- - round metal bar;
- - unnecessary board.
Instructions
Step 1
Measure the thickness of the board to be pasted over. In hardware stores, edging tape of different widths is sold, from 1, 8 to 4, 5 cm. You need one that is slightly wider than the end of your countertop or cabinet door. The color scheme of the edging tape is very diverse, and you can always choose it according to your own taste and in accordance with the characteristics of your interior.
Step 2
Before restoration, the part must be put in order. In particular, remove all dirt from the ends before covering the ends with edging tape. It is also better to get rid of noticeable surface flaws. The butt end should be as even as possible, so sandpapering will not hurt in this case.
Step 3
Determine from which end you will start gluing the edging tape. Even perfectly fitted joints should not be visible to everyone and everyone, therefore, it is better to start pasting from the end that is least noticeable. For example, it can be a part of a tabletop pressed against a wall, or the underside of a door.
Step 4
Joints can be on the tape itself. They are obtained when individual pieces are combined into a roll. This does not matter if you do not intend to coat over the edge banding tape. In this case, you can cut the tape as you like. If covering is supposed, mark the strips so that their length is less than the distance between the joints.
Step 5
Using a ballpoint pen, use a metal ruler to mark the desired size strips on the edging tape. You can first draw a strip strictly along the length and width of the end, and then add allowances of about 1.5-2mm along the long sides, and 1-1.5mm along the short sides.
Step 6
Cut out the strip with scissors or a sharp knife. A metal ruler will come in handy in this case, the cut will turn out to be more even.
Step 7
Turn on your iron and heat it up to the temperature you would normally iron cottons. Divide the end height in half. Draw a centerline around the entire perimeter of the part. Divide the edging tape into two equal parts with a middle line along the entire length.
Step 8
Start machining ends with rounded corners. Place the edging tape at one of these corners so that the center lines on the end face and on the tape line up. Iron the hem from the centerline to the top or bottom of the part, pressing down firmly on the iron. Then iron the other half in the same way. Under the influence of temperature, the adhesive layer melts, and the tape is tightly attached to the product. Carefully smooth out any irregularities with a round metal bar.
Step 9
Allow the garment to cool slightly before smoothing the seam allowances. Leave him alone for ten minutes. Then fold over the top and bottom allowances and iron them with an iron. It is better to put it on the allowance not with the whole surface, but with an angle. The line will turn out to be more durable and graceful.
Step 10
Let the product cool down again. Use a knife to trim off excess pieces of edging tape. It is necessary to trim, taking into account the direction of the fibers of the product. From right to left, it is more convenient to cut when the fibers are directed downward.
Step 11
With an abrasive sponge or a piece of sandpaper, work the surface of the product along the edge. It is better to move the sponge in one direction. For example, along the long sides. It is advisable to remove all irregularities, although a mirror surface is not particularly needed in this case.


