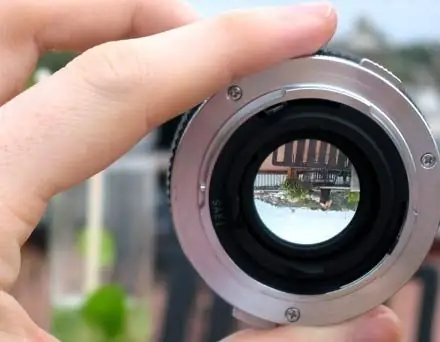
When purchasing a camera with a new lens or a separate camera lens, test the back focus lens system with a target. This will help you determine before buying how much the lens suits your needs, how well it provides focus and whether it is worth spending your money on. To check the back focus, print the finished target on a laser printer, download it from the Internet or draw it in a graphic editor.

Instructions
Step 1
Open the graphic file with the target in Photoshop and in the Image Size section uncheck the Resample Image checkbox. Set the resolution to 300 dpi. Print the file in Landscape orientation, unchecking the Scale to fit media option.
Step 2
Cut out the scale with the target and glue it to the thick cardboard, making slits. Place the scale on a flat surface opposite the camera so that the target is perpendicular to the optical axis of the lens. All scale divisions must be included in the frame to determine the accuracy of autofocus.
Step 3
To test back focus, focus to one side, then point the camera at the target and press the shutter release. After that, knock off the focus in the other direction, again aim the camera at the target and press the shutter release. View the results on a monitor screen. Press the camera firmly against the table to avoid shaking and blurring.
Step 4
You can also try focusing the camera on the thick line above the scale by placing the printed sheet on a flat surface and placing the camera on a static tripod. Make sure that the focusing mark is not too close to the scale divisions for autofocus to work correctly.
Step 5
For better focusing accuracy, use a fast lens of f / 2, 8 and brighter. You can also use a dedicated angle viewfinder that can magnify the image. Choose contrasting details for autofocus and adjust focus according to lighting conditions.


