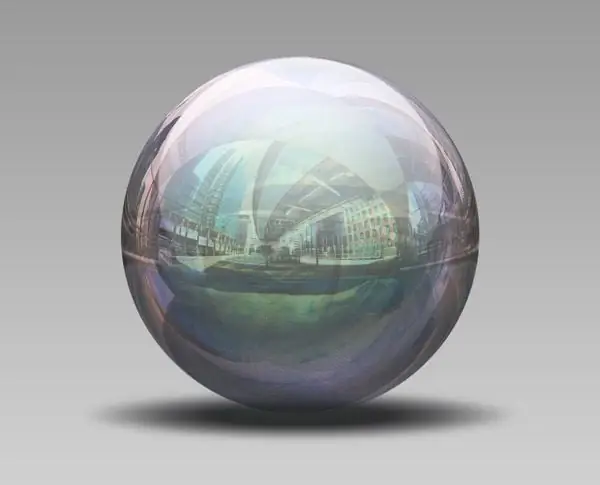
Original animations and unusual graphic effects can diversify your creativity and give originality to your work, which can decorate a website, blog or banner ad. Animation effects that use a glossy effect look beautiful and prestigious. Creating this effect in Adobe Photoshop is not as difficult as it sounds, and you can then practice creating a glossy effect in a wide variety of colors by combining it with different drawings and photographs.

Instructions
Step 1
Create a new document in Photoshop and then create a new layer. On a new layer, place any object you want to apply a glossy effect to. Open the Layer Styles menu and set whatever effects you find appealing, then open the Satin tab.
Step 2
Set the Blending Mode to Color Dodge, set the Opacity to 90% and choose any color from the palette, the shades of which will be used in the gloss (Satin). Click OK and admire the result - the glossy effect is achieved, but so far it is static.
Step 3
In order to make animation, click on the button in the menu, which will allow you to transfer the picture for further editing in Image Ready.
Step 4
Add the glitter effect to the layer palette again. Reduce the Opacity to 0% and create a new layer, then select the Tween option, which allows you to create intermediate frames.
Step 5
Set the number of frames to add (Frames to add), and then change the angle of the picture on each frame, modify the lighting and the degree of transparency - so that in the animated version the gloss shimmers beautifully.
Step 6
In the Tween options, you can set any number of frames - the more frames Image Ready creates, the more complex and detailed animation you can create from your work.


