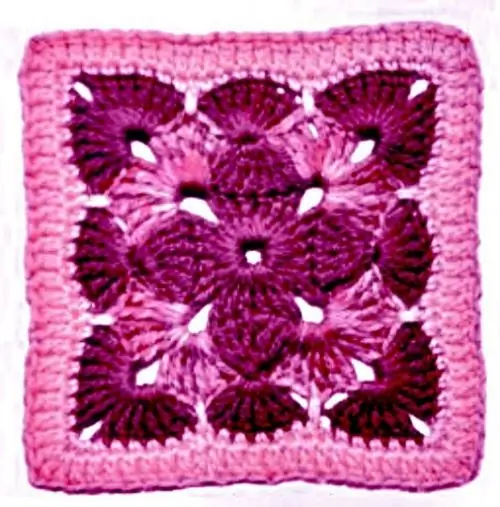
The ability to knit opens up great opportunities for creating exclusive things. Crocheted squares alone can be used to make many different products. It can also be items of clothing (skirts, sweaters, T-shirts). And accessories (bags, backpacks, cosmetic bags). And also all kinds of blankets, blankets and rugs. It all depends on your desire.

It is necessary
- - crochet patterns for squares;
- - yarn;
- - crochet hooks.
Instructions
Step 1
Crochet square crochet patterns for each specific product, choose in accordance with the purpose of the product. So, for a summer T-shirt, the squares should be light, delicate. For a rug, it is desirable to make the squares more filled in the pattern and dense in knitting.
Step 2
Before directly knitting according to the pattern, carefully study the knitting pattern itself and the symbols. If you do not have enough experience in knitting patterns, then make it easier for yourself to read the pattern. For example, you can highlight each subsequent row on the diagram with a colored marker.
Step 3
Having chosen and studied the pattern of knitting squares, proceed to knitting a pattern. Based on the requirements for the characteristics of the squares for a particular product, select the thread (yarn) for knitting and a crochet hook of the appropriate thickness.
Step 4
Dial the number of stitches required for the first row according to the scheme. To move to the next row, knit either air loops (as illustrated in the diagram) or a column (with or without a crochet, depending on the height of the loops of the next row). Knit the next row according to your chosen pattern. As a rule, the row ends with a connecting post (or half-post). For a clear formation of the pattern in the rows, each subsequent row is knitted according to the pattern using lifting loops of the transition to this row.
Step 5
If the size of the resulting square turned out to be less than the planned one, then tie an additional one or two rows. So that the drawing does not differ from the main one, you can take these rows from the used scheme. At the same time, do not forget to proportionally add a certain number of loops.


