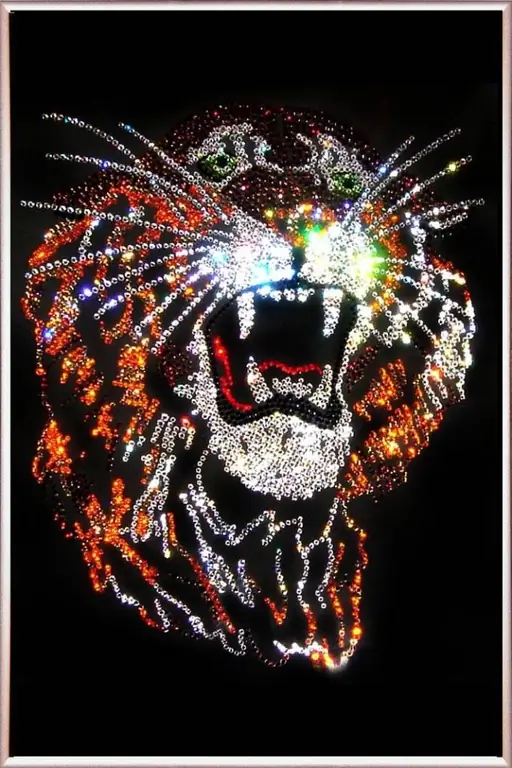
Do you think that the most exquisite and original gifts have already been presented to you? You are wrong! You can create such a masterpiece with your own hands, at the sight of which everyone will simply be delighted. And here Swarovski crystals will come to your aid.

It is necessary
- - Swarovski crystals;
- - PVA glue;
- - frame for framing the picture;
- - pencil;
- - disposable syringe;
- - scotch tape;
- - glass;
- - tweezers;
- - personal computer with access to the global network;
- - a sheet of black cardboard.
Instructions
Step 1
Download to your computer the picture you like, made of Swarovski crystals. Open the drawing on your computer using Paint. Then find the "Select" tab on the toolbar of the window that opens and click on it: from the options offered, select "Select All" and click on this option. After that, right-click on the selected picture and select the "Invert Colors" function in the drop-down list. Apply the change you made. Save the drawing in a new way and print it. The advantage of this picture is that all the contours and shades of rhinestones are clearly visible here: in a word, every pebble is in plain sight.
Step 2
Cover the printed sheet with glass and tape them together: this will make the work easier, because the printed template will not move.
Step 3
Fill the syringe with PVA glue.
Step 4
Place a drop of glue on the glass and use tweezers to dip a pebble in the glue, then transfer it to the desired location. When the rhinestone touches the surface of the glass, press it lightly (just not hard, because the glue can come out and the work will look ugly). Paste over the whole picture in the same way. Carefully look after each pebble, choosing rhinestones of the required size and color for this or that part of the picture.
Step 5
When the work is completed, pull out the printed template, and insert the glass into the frame prepared for its size. To create a black background, place a sheet of black cardboard under the glass.


