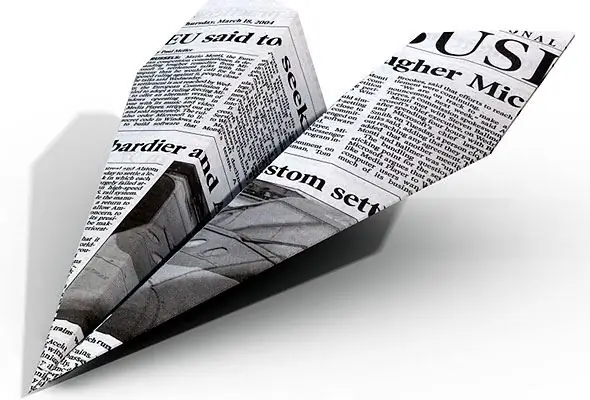
It is difficult to find a person who, in his childhood, during his school years, did not make paper airplanes and did not launch them into the air, arranging competitions and games with friends. Paper airplanes are a simple and accessible toy for any schoolchild, since to make such an airplane, it is enough to rip out an ordinary sheet of paper from a notebook. You can make a simple paper plane from a notebook sheet, or from an ordinary A4 office sheet.

Instructions
Step 1
Lay a sheet of paper in front of you vertically, fold it in half lengthwise, and fold the top corners to the center line of the fold. The sides of the corners should fit snugly against each other in the middle. Fold the sheet across so that the folds are inside the figure, and now fold the corners again, laying them obliquely along the line of symmetry of the figure.
Step 2
Fold the central corner, forming a lock, then fold the workpiece in half with folds outward. On each side of the figurine, fold back the paper to form the wings. Bend the wings at a 90 degree angle to the airplane body.
Step 3
There is another popular way to assemble a paper airplane - you also need a rectangular sheet of paper for this. Lay it horizontally in front of you and fold it in half lengthwise with the fold at the bottom.
Step 4
On each side, fold the corner three times in succession, measuring its folds along the bisector. The first angle should be 45 degrees, the second 22.5 degrees. The plane from the corners folded three times flies better than the previous one and has a smooth and straight flight path.
Step 5
The plane, assembled according to the first technology, has an uneven flight trajectory, then descending, then rising into the air. It is not that difficult to fold both models, and you can alternately assemble both planes to find out which plane you like best. Color the finished airplanes and mark them with identification marks.


