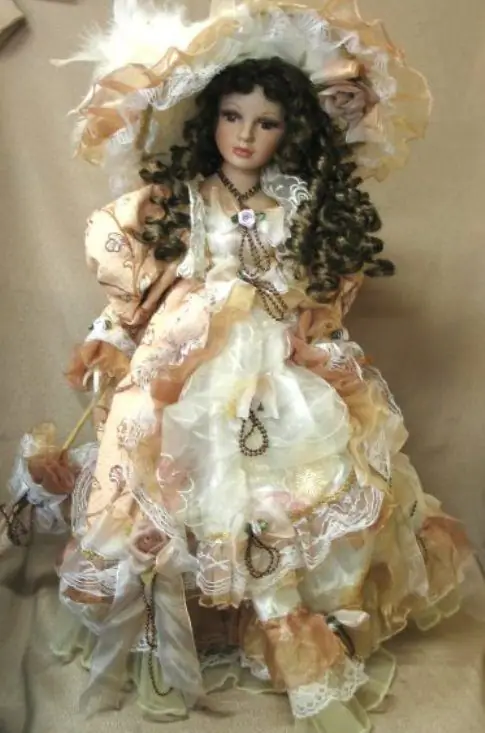
A designer doll is a rare art that requires a high level of skill and perseverance. There are many techniques in which modern craftsmen make designer dolls. Simpler techniques include working with polymer baked plastics, but traditional handmade porcelain dolls are still highly valued. It's not easy to create a porcelain doll, but a finished porcelain doll will delight you for many years with its sophistication and sophistication.

Instructions
Step 1
First of all, you need to prepare the model and come up with a sketch of the doll, as well as determine exactly where the moving parts of the doll will be connected. Draw on the sketch where the joints are attached. Secure the doll's joints with a hat elastic.
Step 2
Use paper glue or sculpted clay to sculpt doll parts, sand and smooth them, and then varnish. Determine in which part of the part there will be a hole for pouring porcelain - this hole should not be visible in the finished doll. Add a funnel to the details of the doll, through which you will pour liquid porcelain. Divide the parts into two or three parts, drawing a cut line along the places of complex relief.
Step 3
Now start removing the form - make a submodel out of plasticine, stick it around the model along the marked dividing line, and then make notches in it with the back of the pencil. Make sides around the edges of the submodel from plasticine, then prepare a solution of gypsum, beat it and pour it into the submodel.
Step 4
When the first part of the mold hardens, remove the submodel and lubricate the mold part with Vaseline. Make bumpers and pour plaster. Separate the parts of the form and remove the model. Sand the edges of the form. Dry the mold for two to three days at room temperature. Gather the dry mold together and tighten it with a rubber band or wire, leaving the porcelain infusion hole in the right place.
Step 5
Stir the porcelain and pour into the prepared funnel to the rim of the mold, pouring slowly to avoid air bubbles. After five minutes, drain the remaining porcelain from the mold, and after three hours, remove the rubber bands and open the mold. Carefully remove the porcelain piece, cut off the funnel and make the holes according to the pattern for attaching the joints. Make the head, torso, arms and legs of the doll in this way.
Step 6
Dry the parts and sand the seams left over from the mold before firing. Then bake the porcelain parts, observing the rules for changing the temperatures in the oven, and finally, when the parts have cooled, start painting the doll's face using acrylic paints on ceramics and porcelain.
Step 7
Assemble the doll together using a rubber band, first securing both hands to the body, and then securing the head and legs. Thread the loop through the metal washer to keep it from slipping. Now you just have to finalize the doll - come up with clothes, accessories, make her hair.


