The ability to solder today is vital only to radio amateurs and craftsmen who repair household appliances. Nevertheless, the ability to handle a soldering iron will not interfere with almost any representative of the stronger sex, since a variety of situations can occur in life. Plus, learning how to solder is pretty simple and doesn't take long.

Basics and terms
First of all, you need to get acquainted with some special terms. Soldering itself is the process of physically joining two parts using a fusible alloy. This alloy, or “solder,” generally has a lower melting point than the objects it joins. In most cases, lead-tin solders are used, melting at a temperature of about 220 ° C.
Before applying solder to the materials to be joined, they must be cleaned of various oxides. This is done using a flux - an organic or synthetic substance that, when heated, not only removes oxides from the surface of metals, but also allows the solder to spread better and adhere more tightly to the materials to be soldered. The most common flux used for many years is rosin-based, but recently there have been many more effective liquid fluxes that are less aggressive to the soldering iron.
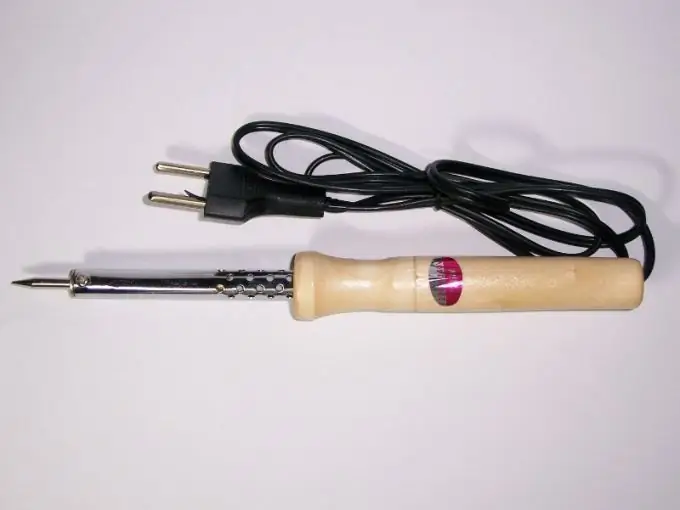
Soldering irons are also very different, however, for a start, a regular low-power electric soldering iron is suitable for you. If funds allow, you can purchase a soldering station: a set that includes the soldering iron itself, various stands, and most importantly, a power regulator that will allow you to avoid overheating of the soldering iron. The tip of a new soldering iron must be carefully "irradiated", that is, a protective layer of solder must be applied.
Soldering technology
The actual soldering process is quite simple. First of all, you need to heat the soldering iron. The heating temperature is considered sufficient if the soldering iron melts the solder. Be careful not to overheat the tip. On an overheated soldering iron, the solder does not hold, but runs down in drops. After that, you need to clean up the places of the future soldering with a file or sandpaper. Then a thin layer of flux should be applied to the cleaned surfaces and irradiated. You can either simply dip the parts to be soldered in molten solder, or touch them with the tinned tip of a soldering iron. In any case, the result should be a continuous layer of solder.
It remains only to connect the parts and fix them well in the desired position. If you solder the wires, you can also twist them together for reliability, although in practice this is usually not necessary. After fixing the tinned parts, start heating them with a soldering iron. You need to ensure that the temperature of the parts exceeds the melting point of the solder. In some cases, an additional amount of solder may be required, which is applied with a soldering iron tip. Make sure that all the solder is melted and that the parts are securely connected across the entire contact surface, otherwise the contact will be fragile. Allow the parts to cool completely before loosening them, as any movement during the solidification of the solder can compromise the strength of the joint.
To begin with, you should practice on unnecessary wire cuttings, old printed circuit boards and contacts in order to learn how to calculate the temperature, the required amount of flux and solder. A few hours of practice is often enough to get the hang of a soldering iron.


