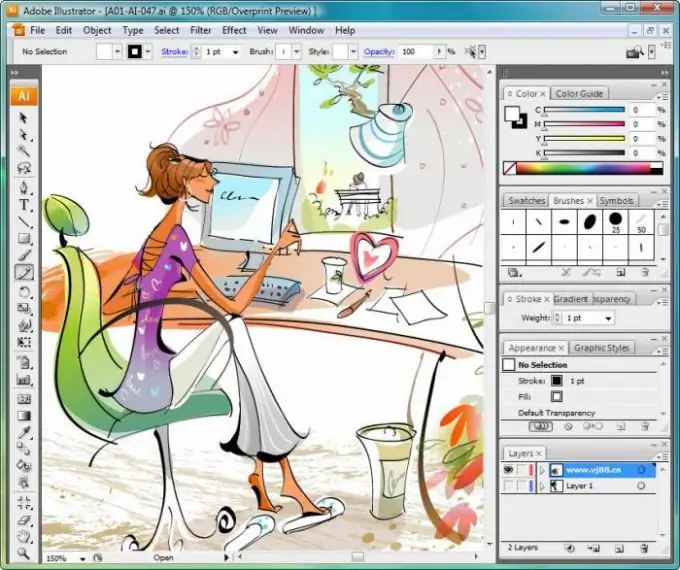
The possibilities of computer graphics open up great prospects for artists and designers - with the help of Adobe Illustrator you can create various drawings and graphic elements that can be used both as independent art objects, and as fragments of the design of web pages, advertising posters, layout of magazines, and much more. another. It's easy to learn how to draw in Illustrator if you start by sketching a finished photograph.

Instructions
Step 1
Load the photo into the program and place it on the first layer using the File> Place command. Open Layer Options and set Dim Images to 30%. Lock the photo layer.
Create another layer and, holding down Ctrl, click on the thumbnail with the image of the eye.
Step 2
On the toolbar, select the Pen Tool (pen tool) and on top of the previous layer, carefully begin to trace the main outlines and features of the person depicted in the photo.
Step 3
For the greatest reliability, the drawing should have elements of light and shadow. Mark the outline of the shadow area in your drawing and copy it so that it sits on top of the outline path on the person's face.
Step 4
Select the copied and new path, then open Pathfinder and Alt-click on the Intersect shape areas button. Continue to outline the contours of the photo on a new layer and in the same way create paths for the shadow areas.
Step 5
After the entire figure in the photo, including the details of clothing and facial features, is drawn, start filling the drawing with color. First, take a basic flesh tint and paint over the face. Then fill the outline prepared for the shadow area with a gradient shade slightly darker than the base color.
Step 6
Set the Blending Mode to Multiply in the gradient settings. For the rest of the shadow areas, copy the created gradient using the Eyeper Tool (eyedropper). Work on the rest of the shadows, and then paint the shadows for the lips and eyes with a different color.
Step 7
To paint the body, also copy the gradient fill with the eyedropper tool. Work on the shadow areas and move on to drawing the hair, adjusting the finished gradient. Do the same with the clothes.
Step 8
Detail the hairstyle of the person in the photo - add more details, give the hair a voluminous texture, draw light and dark strands. Add some details to the clothes and appearance of the person in the photo and your drawing will be ready.


