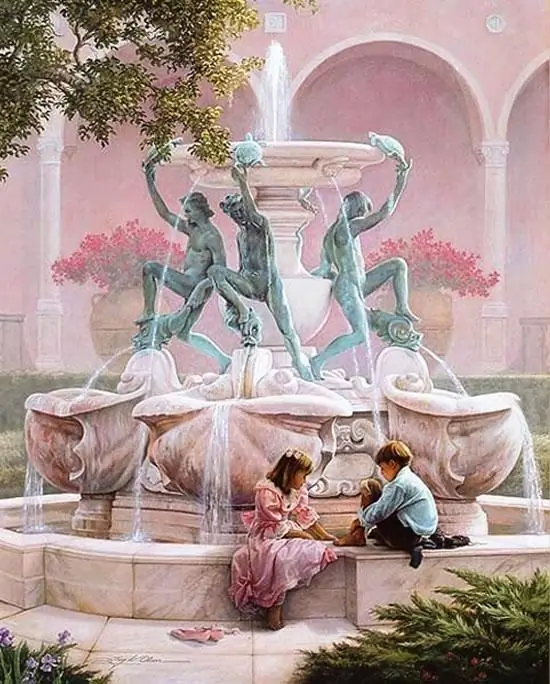
Who among us has not admired the sparkling jets of transparent water, forming various figures in the air with quite visible forms? Like most objects, the fountain consists of several simple shapes that make up one more complex one. If you mentally break the fountain into parts, it will be much easier for you to draw this difficult “flowing” object. It is best to have either a photo or a real fountain in front of your eyes as a reference to achieve a more naturalistic and believable effect.

It is necessary
- - drawing paper;
- - a simple pencil;
- - eraser.
Instructions
Step 1
Place a piece of paper on a table or tablet. Determine from what angle you would like to depict the fountain. If you sit low, then you will look at the top of the fountain from the bottom up, and if you stand at a higher level, you will be able to see the bottom of the fountain and the shape of its reservoir. The type of your drawing depends on the choice of point of view.
Step 2
Look at the shape of the fountain without water, estimate the basic shape of its reservoir and the central part (source), and sketch them. Complement these basic shapes with others at the top and bottom. Draw with light sketch lines, just trying to get the approximate size and proportions of the compound shapes and the correct angle of view.
Step 3
Sketch and refine the lines in the foreground to correctly depict where each shape that makes up the fountain begins and ends, and at what angle it is located relative to your point of view. Use the eraser to erase those lines that are out of your sight. Adjust the outlines of the architectural details to make them as smooth and smooth as possible.
Step 4
Draw in all the small details and shapes of the fountain using the same method of simplifying the shape as before. Refine and correct all the sizes and proportions of the parts of the fountain.
Step 5
Now start drawing the water. Draw in arched lines the trajectory of water gushing from the source and falling down. Refine slightly uneven jet contours. If the water falls or runs down in tiers, display this moment in the picture. Erase those details of the fountain and their parts that are not visible behind the layer of water and flying spray.
Step 6
Fill the drawing with details - chiaroscuro, textures of stone and metal, small characteristic details (cracks, small stones or mosaics at the bottom of the fountain, etc.). Add shadows in splashes, jets and water trickles to add dimension and depth to the drawing. Draw water in motion, create highlights by highlighting or removing lines with an eraser. Continue filling the image with light and shade until the drawing is complete.


