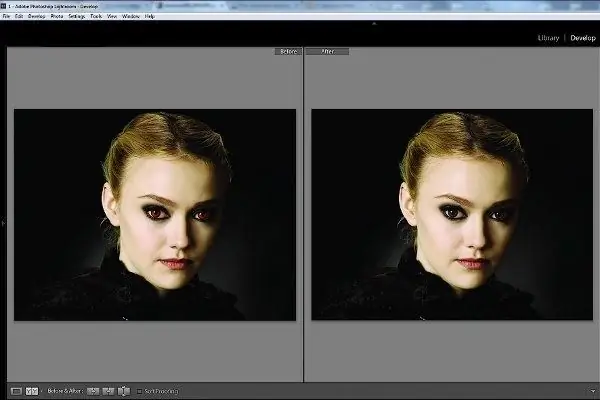
Even with modern cameras it is sometimes possible to get portraits with red eyes. Fortunately, this defect can be easily fixed with a graphical editor.

It is necessary
Adobe Photoshop program
Instructions
Step 1
Launch Adobe Photoshop. Open the main menu and select the File line, and then click on Open. You can also perform this operation using the keyboard shortcut Ctrl + O. In the dialog box that opens, find the required graphic file and click the Open button.
Step 2
Select the image scale in the viewport. You can also enlarge the photo by activating the Zoom Tool in the toolbar. Move the cursor over the area of the photo that you want to correct. Click on the right mouse button and, while holding it, draw a frame around one of the red pupils.
Step 3
Use the Red Eye Tool. On the toolbar, left-click on the space above the second group of elements and hold the button until a menu appears. Select Red Eye Tool.
Step 4
Adjust the parameters of the Red Eye Tool. Fill in the Pupil Size and Darker Amount fields. The Pupil Size value is set by the ratio of the pupil size to the size of the entire corrected area. The Darker Amount parameter determines the saturation of the black color in the created image.
Step 5
To remove the red eye effect, after selecting the Red Eye Tool, move the cursor to the middle of the pupil and click the left mouse button. Evaluate the result. If it does not suit you, cancel the action by pressing the key combination Ctrl + Z. Correct the setting of the Red Eye Tool and repeat the operation.
Step 6
This procedure must be repeated to remove the red glow from the second pupil. If the photo shows a group of people, you will have to work with each red eye separately.
Step 7
Save the edited image. From the File menu, select the Save for Web & Devices line. In the dialog box that opens, specify the format of the saved image. You can also select the compression rate, save directory and enter the name of the graphic file. Click on the Save button.


