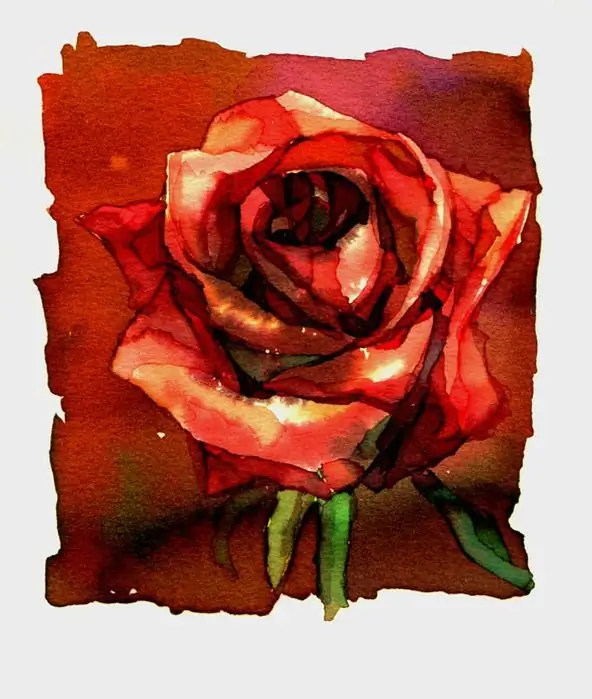
Before painting the rose in watercolor on paper, sketch out the outline using fine lines. Try not to use an eraser so that the smallest pellets do not form on the sheet. If you still can't do without using an eraser, it would be better to transfer the finished sketch to another sheet of paper using glass, to the light - it will be more accurate. Now take a board to fit a piece of paper, and then secure it to the board with masking tape or pushpins. This is necessary so that the paper does not warp when it gets wet.

It is necessary
- - soft pencil;
- - a sheet of Whatman paper or watercolor paper;
- - watercolor paints;
- - easel or board;
- - scotch tape or pushpins;
- - set of brushes.
Instructions
Step 1
So, start painting with heavily diluted watercolor. To create a glowing watercolor effect, use more water when working with glazes. Try to ensure that the previous layers shine through each new layer.
Step 2
Cover the entire rose with diluted crimson, applying very diluted green paint to the bottom of the bud. The green color will then be covered with almost transparent layers of pink and red hues. It will be almost invisible to the eyes, but it will give the petals liveliness and naturalness.
Step 3
Let the layer dry, then start deepening the dark spots on the petals. Use warm colors for deepening, as well as mixtures (raspberry-ocher, red). The main thing is to dilute the paint very strongly with water.
Step 4
Fill the background with cold shades. Such a background will push the "warm" flower forward, make it stand out. Fill the background so that it is darker on the lighter side of the rose, and lighter on the dark side. This will make the flower more voluminous. And do not try to achieve uniformity of the background, let it be a little heterogeneous, with stains - this is necessary for the drawing to become more realistic and picturesque.
Step 5
Apply the pattern to the petals with a thin brush. Let it be slightly darker than the petals. Don't make the lines too dark, let them be subtle.
Step 6
Sketch the background around the rose with green mixtures (ocher and ultramarine, ocher and blue, green and cobalt, grass green and purple, yellow and violet). Do not try to paint the leaves in the background, but rather outline only the shape and color shade on the leaves.
Step 7
Add warm spots to the background with the mixtures with which you painted the rose. They will, as it were, overlap with the flower and balance the composition.
Step 8
Add dark spots of paint to the edges of the petals (namely, dark spots, not solid lines) and you can consider the drawing finished. Remove the tape or buttons, frame the rose and hang it on the wall.


