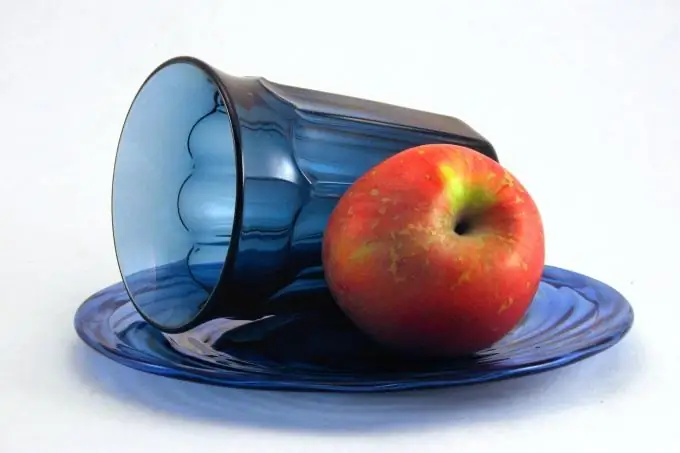
Still life (from the French expression "nature morte" - "dead nature") is a composition of a variety of inanimate objects. In art schools, still lifes are made with a pencil, paints, pastels, and a variety of painting techniques are practiced on them. Pencil drawings have their own specifics - to master the technique, you will need to draw more than one sketch or still life.

It is necessary
Paper, pencils of different hardness, eraser, easel
Instructions
Step 1
First you need to create a still life. For example, you can find vases, cups, fruits, decorations, shells and other items at home that will make up the composition. Position the chair so that the light hits it slightly from the side and front. Cover the back and seat of the chair with a cloth so that it forms folds, and then place the items you have chosen on it. For the first time, you can put the fabric exactly without folds, and choose items that have practically no small details or decorations. The simpler the design of the object, the easier it will be to draw.
Step 2
Before starting work, try your pencils on a separate piece of paper - see what effect they will give if they barely touch the paper or press hard. Try different shading and shading (you can shade a pencil with cotton or paper swabs, a soft cloth, an eraser).
Step 3
Set up an easel, place a piece of paper on it and make a preliminary sketch. Symmetrical objects (for example, vases or plaster figures - a cube, a cylinder, etc.) require construction. Check the proportions of the objects - the apple should not look like a watermelon, and the coffee cup should not be larger than a three-liter vase.
Step 4
Pay attention to the shadows. Somewhere objects are illuminated better, and somewhere worse. On the border of objects, the shadow is the deepest (shadow), then it begins to dissipate (partial shade) and turn into light areas (light). If your composition contains shiny objects, then there are highlights on them, which also need to be displayed.
Step 5
Now you can start shading the drawing. For softer light and shade transitions, use feathering techniques. Do not forget about the drop shadow (the shadow that falls from objects on the fabric). When hatching, check the correct construction and proportions of objects.


