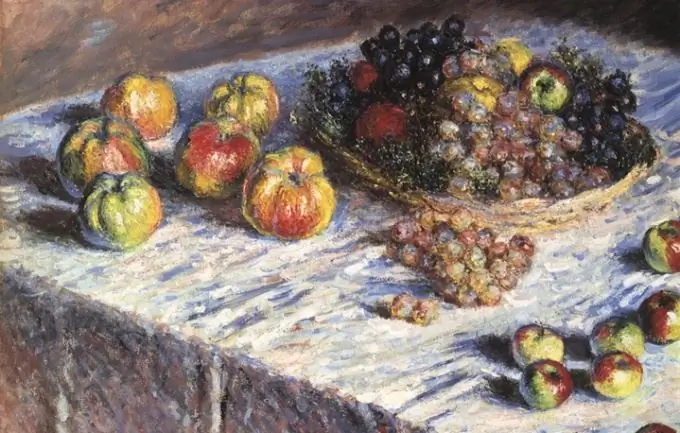
Still life is one of the most popular types of painting, in which novice artists usually train and hone their technique. In addition, it is easiest to draw a still life - you can always find several objects at home and assemble a composition from them in order to train, and there is no need, as in a landscape, to look for any special natural beauties. If you decide to try yourself in the role of a still life painter, then below you will find useful recommendations for you.

Instructions
Step 1
First sketch out the main outline of the entire group of objects. Remember, not each item individually, but the whole group at once. To do this, make a general sketch, indicating the positions of objects on the sheet. Constantly check the width of objects, build axes that will help you correctly indicate the thickness of objects.
Step 2
If you are drawing a jug, then remember that both its neck and its bottom are based on circles. Apply these circles with light strokes, keeping in mind the distortion of the circle in perspective. Compare the position of the top and bottom of the pitcher, making sure your pitcher is firmly on the sheet and does not fall over.
Step 3
Studying the nature very carefully, give the objects the necessary shapes. Do not draw them, but sketch them in thin light lines. Do not give in to the first impression and do not rush, very carefully observe all the proportions, sizes of objects and watch how they are connected to each other.
Step 4
When you start painting a still life, do not try to immediately take bright saturated colors. First, use light, semi-transparent strokes to mark the main colors throughout the picture. After that, start adding more saturated color where necessary.
Step 5
Constantly move away from your drawing and see where it turned out to be too dark or too light. Don't forget about color reflexes. Give up the pure black color altogether.
Step 6
Do not try to convey small details - cracks, specks, etc. If you made an unsuccessful stroke, then the paint can be quickly removed with a semi-dry brush, brushing it from the bottom up.
Step 7
Rate the finished work. If you think that the work turned out to be unsuccessful, then do not throw it away, but put it in a folder. After some time (preferably after a couple of months), take out your unsuccessful work and evaluate them again, find the main mistakes, compare with the current work and draw a conclusion about how much progress you have made.


