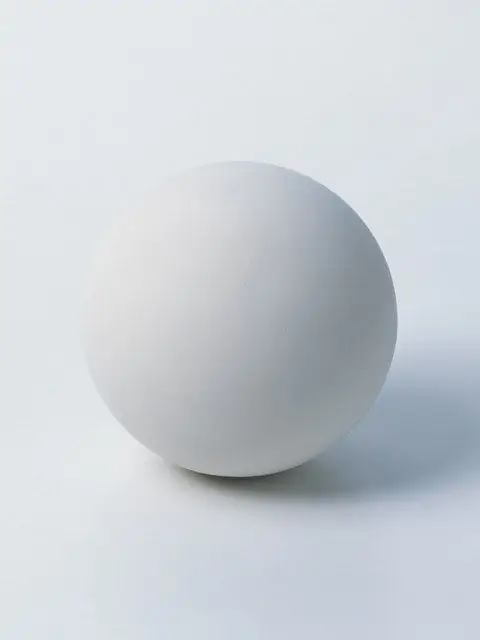
The principle of creating volume in the image of a ball is different from the methods that are suitable for drawing other geometric shapes. In this case, there is only one tool for creating the illusion of volume - this is color. By changing its hue and saturation, you can make the flat circle an almost tangible object.

Instructions
Step 1
Take any round object with a smooth surface as a reference. It is desirable that it be one-color - so it will be easier for you to understand the distribution of light on the surface. Place it on the table and place the light source on the top left.
Step 2
Take a sheet of A3 paper. Place it horizontally. Using a light pencil outline, sketch out the outlines of the ball to determine its most successful location on the sheet. When looking for the best composition, keep in mind that in addition to the object itself, its shadow must fit on the sheet. Allow 2-3 centimeters of white space between the outline of the drawing and the edges of the paper.
Step 3
To draw a circle without using a compass, first draw a square. Write a circle in it. Draw several rays through the center and use a pencil to check if their length is the same. To make sure that the circle turned out to be even, turn the sheet to its side and upside down, step back from the drawing a few steps - this way the errors will be more noticeable.
Step 4
Erase all construction lines. Use a nag eraser to loosen the saturation of the pencil line. Paint the balloon with watercolors. To do this, you only need one color - you can take black or sepia.
Step 5
Determine the lightest area on the surface of the ball. It is located closest to the light source, that is, on the top left. Remember the location of the round flare and do not paint over it.
Step 6
Mentally divide the drawn circle in half lengthwise and crosswise. The lightest shade of the selected color will fill the upper left quarter. Dilute the paint in a palette with plenty of water, quickly distribute this shade over the entire surface of the ball, except for the place for the highlight.
Step 7
Identify areas that are half a tone darker. This is the lower right quarter of the circle. Paint over it, lifting the excess paint up towards the center. Apply another layer of a more saturated shade to the lower left part of the ball.
Step 8
Its own shadow will help to convey the bulge of an object. It encircles the ball just below the middle in a semicircle. This line is tilted to the left, towards the light source. Lastly, paint over the top right area of the subject - it's the darkest.
Step 9
Draw an elongated drop shadow to the right of the ball. It brightens with distance from the object and has no clear boundaries.


