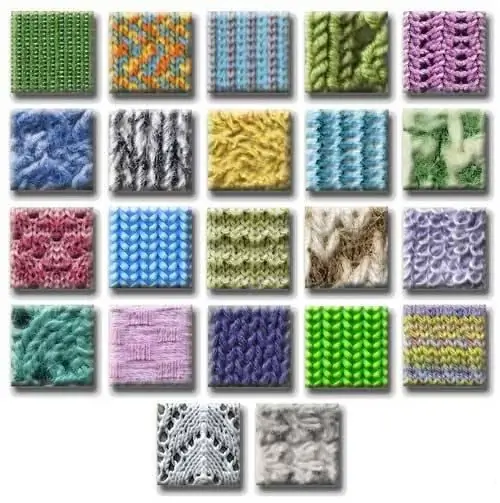
Knitting is a fun activity. Learning it is not at all as difficult as it seems at first glance. If you know how to knit front and back stitches, then using the schemes, you can knit the most bizarre pattern, make any pattern or ornament. The main thing is patience and calmness. This is why knitting is valuable. It calms and delights you when you get a thing like the picture, or even better!

Instructions
Step 1
Knitted items with a pattern or ornament are always unique and inimitable. Two identical ones will never work, even if you use the same scheme. Knitting patterns is easy. They are always knitted with front stitch, and this is the easiest way to knit: front rows are knitted with front loops, purl rows - with purl.
The easiest drawing to execute is an ornament of two or three colors. All that is needed to knit an ornament is threads of suitable colors and strict adherence to the pattern.
Step 2
If you have chosen a more complicated drawing, for example, an animal, a fairy gnome or flowers, you will have to work harder.
You need to find a diagram of the picture. If it is not there, you can take a cross stitch pattern (one cross is one loop).
Step 3
Calculate the loops of the product so that the picture is in the center or where you need it. This will help you find out if the drawing will even fit into your product (if the thing is for a baby, and the picture is too large).
Step 4
Prepare threads of all colors that are in the picture. Usually, even the simplest design requires at least 4 colors. For complex drawings, it is not immediately possible to count the number of colors. If there is a ready-made scheme of what color and how much you need.
Step 5
It is more convenient to knit patterns with knitting needles when you have several balls of thread of each color. In this case, on the wrong side, the thread of the previous color is simply stretched. It is necessary to ensure that the thread broaches do not tighten the canvas and do not hang freely, otherwise the thing will be inconvenient to wear.
Step 6
If in the drawing there are large areas of the same color, then the filaments will be very long. To avoid this, do not stretch the thread, but take another ball of thread of the same color, and cross the threads when moving from one color to another.
Step 7
Embroider the contours of the pattern with contrasting or black threads to highlight the details of the picture. Small design elements are also easier to embroider.


