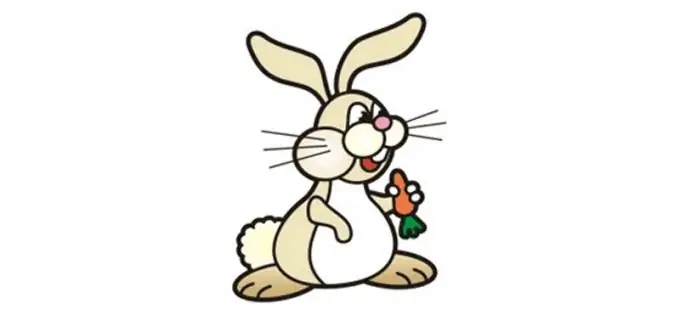
Drawing with your child is not only a lot of fun, but also a great exercise. It will help develop your toddler's creativity and finger motor skills. Follow the simple instructions and try to draw a hare with it.
Instructions
Step 1
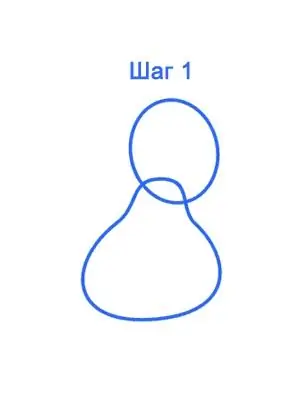
Draw the basic outlines of the bunny: torso and head. Remember that the body is not an oval, but rather a bob, the top end of which is narrower than the bottom end. Keep in mind that the hare will not be looking at us, so the oval of the face should be directed to the side.
Step 2
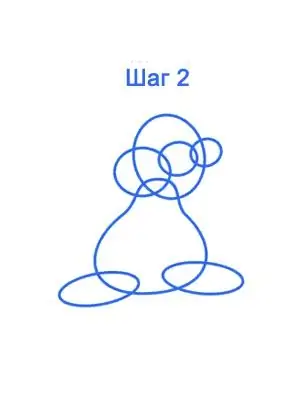
Add additional elements to help shape the face and legs. Apply cheeks and nose. They should slightly extend beyond the oval of the face. The far oval needs to be made smaller, since it is farther away. Don't forget about perspective.
Step 3
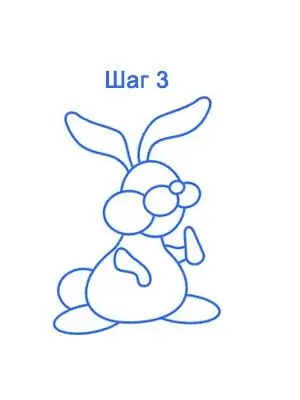
Erase all unnecessary contours. Add a small circle in the back for the tail. Draw the front legs. Let our rabbit hold the carrot. Draw a small triangle for the nose and add the ears. Remember that they should be already at the beginning and expand at the end.
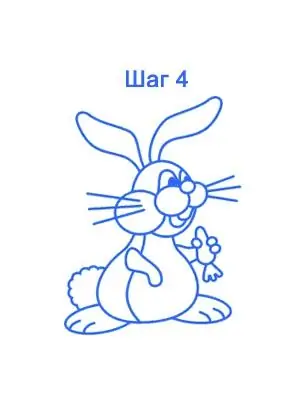
Step 4
Keep adding details. Draw a mustache and eyes for the bunny. Add a ponytail to the carrot. Highlight the areas where the coat will differ in color. Select the toes on the hind legs.
Step 5
Color the resulting animal. The easiest way to do this is with pencils, but brushes and even crayons can also be used. It all depends on what your child loves to wield the most.


