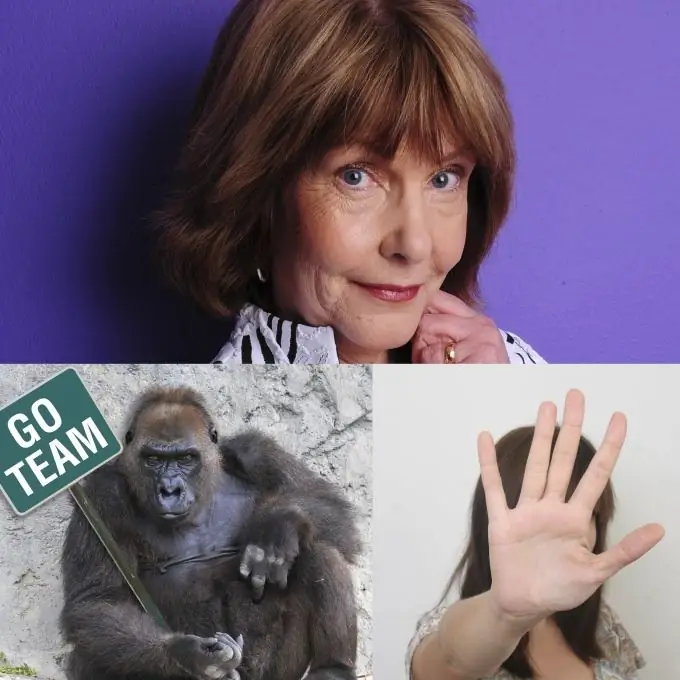
Typical photo joining in Adobe Photoshop requires manipulation with just one tool and is therefore not difficult. The method described here is suitable not only for photographs, but also for any other images.

It is necessary
Russified version of Adobe Photoshop CS5
Instructions
Step 1
Run the program and open the necessary photos: click the "File" menu item, then "Open" (or the key combination Ctrl + O), if the files are in the same folder, hold down Ctrl and click on each to select them and click the "Open" button … If the photos are in different sections, the operation will have to be repeated.
Step 2
Create a new document: press Ctrl + N, in the "Width" and "Height" fields, specify, for example, 1000 each, and then click the "Create" button. This document must be large to accommodate all three photographs. If 1000 is not enough, specify a larger value.
Step 3
Move all your photos to this document. Activate the Move tool (hotkey V), click on the photo and drag it onto a new document. If the pictures are arranged in a tabbed way, drag the photo first to the tab, and then to the document itself.
Step 4
Make the new document active. It should contain all three photographs. It is possible that they will overlap, but this can be fixed. Find the "Layers" window, and there the "Layers" tab (if this window is not there, press F7). Each layer here (besides the background) is one of three photographs. Select any of the layers by clicking the left mouse button. You should have the Move tool activated, but if not, select it. Hold down the left mouse button in the working area of the document and move the active photo to the place you need. Do the same with the remaining two photos. If the location of the photos does not suit you, you can return to the "Layers" tab at any time, select the required picture and move it again.
Step 5
If the photos do not fit together in size, select the layer with any photo and press Ctrl + T. Thus, you will call the command for free transformation of the object: markers in the form of squares will appear at the sides and corners of the photo. To resize the photo, hold down Shift (so that the photo does not change the proportions) and one of the markers, and then drag in the direction you need. Hold Ctrl, select all three pictures in the "Layers" tab, right-click and select "Merge Layers" from the menu that appears.
Step 6
Create another document and in the "Width" and "Height" fields, specify those dimensions that will match the dimensions of the layer based on the three photos you created in the fifth step of the instruction. It may not be possible to guess these dimensions the first time, so you can try again. When you achieve the desired result, save this document: press Ctrl + Shift + S, select the path, specify Jpeg in the "Files of type" field, write a name and click the "Save" button.


