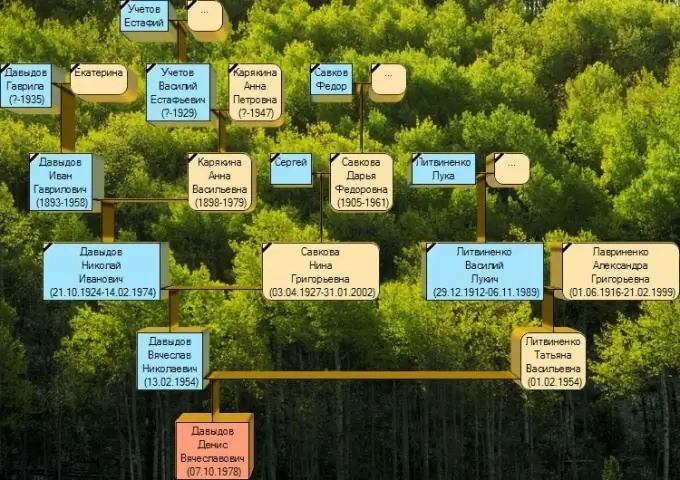
The family tree is compiled in order to trace the chronology of the family over many years and even centuries. The tree symbolizes the connection between generations and preserves the memory of ancestors. Drawing up a personal tree can be entrusted to specialists or done independently, for example, using the Internet.

Instructions
Step 1
First, find a picture on the Internet with a picture of a tree, you can draw it yourself using Word. Save it to your Desktop or in a separate folder.
Step 2
Find pictures of all the relatives you want to list on the family tree. Try to find all female and male line representatives. Think over the options for placing images on the tree. Sort your photos by who is due to whom. Try to remember the dates of birth, dates of death.
Step 3
If your photos are on paper, scan them to your computer. Group them into a separate folder.
Step 4
Use any graphics program to place photos in a tree. You can arrange them on branches or decorate images in the form of leaves. Move the mouse cursor over the place under the photo and make an inscription, for example, the date of birth, compare it with the events that took place in history during the life of your relatives.
Step 5
Next to the tree, you can place a timeline, on it you can clearly display the development of the genus against the background of historical events. Add the family coat of arms to the image, if there is one, you can make a short description of the family history, a link to your personal website on the Internet.
Step 6
Inscriptions with the names of men can be issued in green, and women in yellow, or vice versa. Move the mouse cursor over the person from whom you will start drawing the tree. There should be a spouse next to him, if there are any, branches will go down from them to descendants. If the husband had several wives or the wife has several husbands, the lines to the descendants are drawn separately from each pair.
Step 7
Place photos from the most distant relative and work downward to their descendants. Follow the sequence, group families, place the same last names next to each other.
Step 8
The tree must be preserved. To do this, you need to click with the mouse on the button in the computer menu with the floppy disk drive icon. To print the received material, click again in the menu section, but only on the icon with the image of the printer. Frame the resulting family tree and hang it on the wall.


