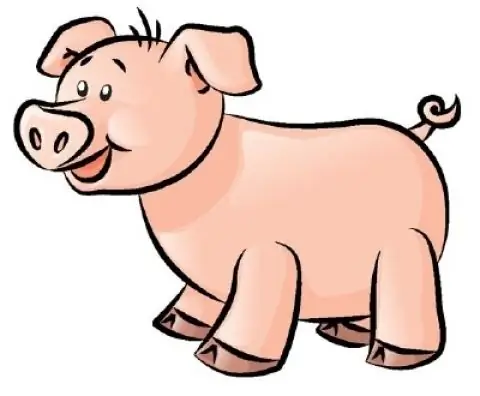
The pig is remarkable for its recognizability. It is very easy to draw it: the main thing is a nose with a snout, and a crochet tail, and the rest is a matter of technique. Even if until now all your artwork was only the notorious "point, point, two hooks", you can easily cope with the task of depicting a pig. All you need is to learn how to draw two figures tolerably - a circle and an oval.

It is necessary
pencil, eraser, sheet of paper, crayons or paints
Instructions
Step 1
Draw a circle about 2 cm in diameter. This will be the head. If you need a piggy in half or in the entire landscape sheet, make the circle and the following parts larger, observing the proportions.
Step 2
Draw an oval about 4-5 cm long and 3 cm wide to the circle. It should be located below the level of the head - approximately from the middle and slightly go beyond the contours of the circle. You can position the oval at some distance from the head and connect them with the neck - you get a more caricatured image of a pig.
Step 3
Mentally draw a square inside the circle and put dots in the middle of its lateral sides - eyes. If you want to make them more expressive, then draw empty circles instead of a point. Within each circle, draw an arc line - along or across - dividing the eye approximately in half, into the right and left, or into the upper and lower, respectively. Paint one half in each eye with black. If these are the right or left parts, then the pig will look in one direction or the other. The upper halves will force her to think, peering into the sky. And if you paint the right half in the left eye, and the left half in the right, then the pig will squint its eyes "in a heap."
Step 4
In the middle of the lower part of the circle, draw a small oval or circle, and inside it two dots or two open circles - whichever you like best. It turned out to be a piglet. It can be given volume by drawing two small stripes on top of the sides - the nose will turn out to be not flat, but elongated.
Step 5
Draw triangular ears on the sides of the top of the head. They can be made "upright" or saggy - to do this, lift the ears using two or one line and draw triangles with the tops down. Draw the lines of the two hooves - front and back - they should not be too thin and long, otherwise you will get a ballerina pig.
Step 6
Add two more legs, and then circle all four fatter, drawing them at the bottom with two checkmarks (an inverted flag). Add a curled crochet ponytail.
Step 7
Outline the clear outline of the animal, erasing extra strokes and lines. Separate the hooves from the hooves, draw the eyebrows and bangs. Draw a couple of transverse arcuate lines over the patch to create a wrinkled nose. Mark the mouth with one arc - a smile, or two, connected one under the other - an open smile. Select the round cheeks with arcs. Draw in the auricles and dirt spots on the barrels and on the back.
Step 8
It remains only to color your pig with colored pencils or paints. You can hang a bow on the ponytail for beauty. Draw a nice green flowered lawn for her or a nice big puddle.


