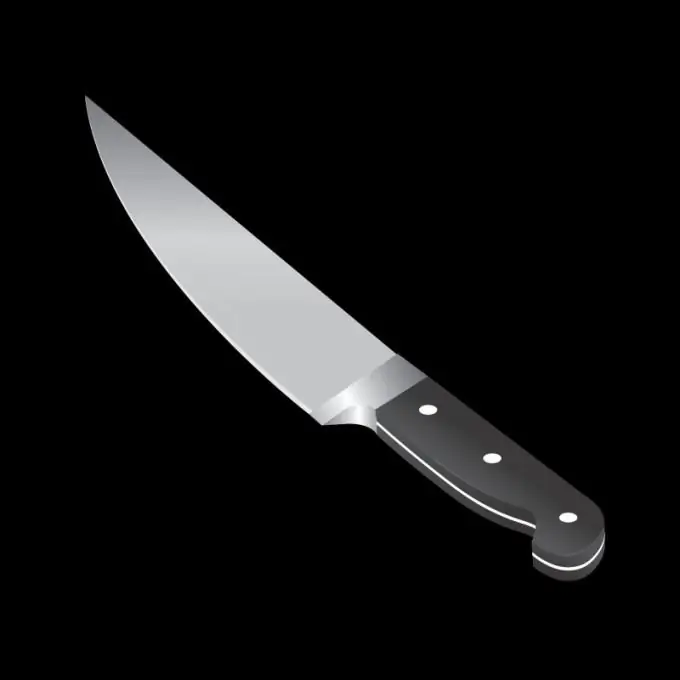
When drawing kitchen utensils, it is important to convey what material this or that item is made of. The knife can be pure metal or composite, with the blade made of metal and the handle made of wood, plastic, or precious stones. You can even convey the difference between wood, plastic and metal with a simple pencil.

The base is a straight line
Looking closely at the knife, you will see that the top of the blade and the handle form a straight line. This can be seen both on a regular kitchen knife and on a penknife when it is ready to go. Start drawing the knife in stages with a long, straight line. Make marks at the ends. Determine the approximate ratio of the sizes of the blade to the handle and make another mark.
It is best to draw auxiliary lines with a hard pencil, and outline the contours with a soft one.
Draw a corner
As a rule, the tip of the knife is sharp. Drawing the knife in stages, roughly determine the value of the angle between the sharpened and blunt sides. Draw a thin construction line. The configuration of the sharpened part can be different, but most often it is located parallel to the blunt side or at a slight angle. Draw the sharp side. In any case, it forms an angle with the segment limiting the tip of the knife. It is better to round it.
The sharpened side of the blade should end exactly opposite the middle mark on the base line. By connecting this mark to the end of the blade, you should get a perpendicular.
Handles are different
The simplest handle is a long strip. It is with her that you begin to draw this part. Round the corner that is on the blunt side of the blade. The bottom of the handle can be made in a curved line. Imagine that you will have to take this knife. The handle should be comfortable. In addition, if the knife is not made from a solid piece of metal, the parts are held together in some way. The fasteners are circles - there can be 2, 3 or even more. With a minimum number of them, one is located almost near the blade, the second is at the opposite end of the handle. If you are drawing cutlery worthy of a brave knight or a fairy-tale princess, knives and forks should be very delicate, completely made of gold or silver.
Draw the details
Trace the outlines with a soft pencil. The line separating the knife parts can be made a little longer so that it protrudes beyond both the blade and the handle, but not too much. Now you need to depict the matte surface of the wood and the shine of the metal. Start with the blade. To make it look shiny in the drawing, it is enough to draw a few light strokes parallel to the sharpened side. As for the handle, then the shading should be thicker and darker. You don't need to leave white spots at all. In principle, it does not matter in which direction the lines will go. If the grip is round, long paths will have darker strokes than the middle. The flat handle can be shaded with oblique strokes.


