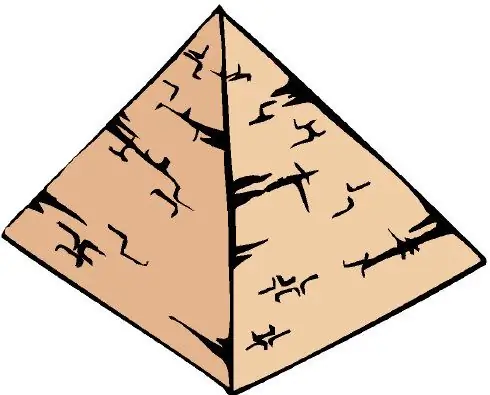
In the graphics program Adobe Photoshop, you can not only successfully retouch and edit photos, but also create a variety of images from scratch - from sketchy drawings to full-fledged realistic paintings. You can try your hand at computer graphics using the example of drawing a volumetric and textured pyramid. This is easy to do if you follow the step-by-step instructions.

Instructions
Step 1
Create a new document of any size, and then open the View menu and select the Grid option - an auxiliary grid will be displayed on the working area of the document. After that, in the same menu, select the Snap option, and then Snap to -> Grid.
Step 2
From the Edit menu, choose Preferences> Guides, Grid, Slices. In the window that appears, set the value to 1 inch = 25 mm for the grid line. Select the Rectangle Tool from the toolbar, click on the U key, and then select the Paths option. Draw the base of the pyramid, making sure the Show Transform Control option is selected in the Control Panel.
Step 3
Expand the drawn base by selecting the corresponding corner cursor with arrows. Rotate the base to give it the desired angle according to the perspective. Double click on the base to confirm the change in its position. Pull the bottom marker down to extend the pyramid in perspective. Uncheck Show Transform Controls.
Step 4
To draw the sides of the pyramid, define the center of the diagonals that go through the pyramid, and then define its apex point, which is at the top of the vertical perpendicular to the center of the base of the pyramid. Draw the sides of the pyramid using the Pen Tool on a new layer. In order to change the color of the future pyramid, click on the Fill Layer option.
Step 5
On the layers palette, click on the Path Selection option and using the pen tool, delete one of the corner points that appear in the image. Then select the Direct Selection Tool and drag the corner point to the vertex point with the left mouse button. Repeat the same for the rest of the pyramid points - this way the points moved to the top will create new paths and you will draw the visible sides of the pyramid.
Step 6
Open the View menu again and uncheck the mesh display, then make the pyramid realistic by filling it with texture. Select the Create a new fill or adjustment layer option in the layers palette and select Pattern in the window that opens. From the list of textures, select the appropriate one for the surface of the drawn pyramid and apply it. Make the drawing more natural by applying the blending mode of the layers Overlay or Soft Light.


