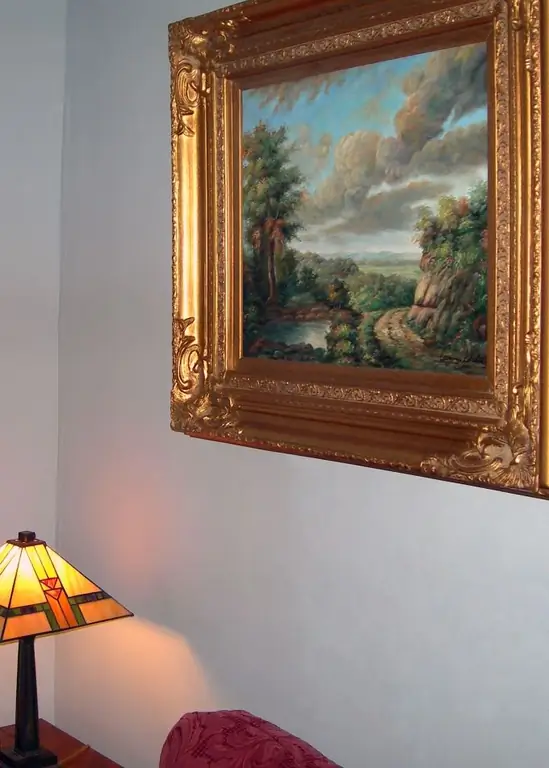
There are many opportunities to decorate your home. You can, for example, buy a painting by a professional artist or select and arrange reproductions that are suitable in style. And you can do something completely different from what others have. Beautiful compositions can be made from scraps, old photographs, dry plants, pebbles and shells. Even the most ordinary plasticine is suitable, from which you can mold a relief very similar to ceramic. But no matter what the picture is made of, it must be hung on the wall.

It is necessary
- - Thick cardboard or plywood
- - Frame made of baguette or metal, or slats
- - Glue
- - Materials for the painting itself
- - Several small nails
- - A hammer
- - Jigsaw or small hacksaw
Instructions
Step 1
Pick up or make a painting. Start with the background. Cut out a piece of cardboard or plywood that is suitable in shape and size, prepare the materials. For a painting made of straw or dry leaves, glue a sheet of colored paper onto cardboard. It is better to take velvet paper, but this is not necessary. Sketch out the composition. You can come up with something of your own, or you can sketch a picture you like. If you are making a composition from leaves, just lay them in the background, try different layout options and choose the best one. Sculpt the plasticine relief layer by layer until you get a background of the required thickness, on which the sketch is made and the volumetric parts are molded. For a collage, old photos must be reshaped and cropped.
Step 2
After you have chosen the version of the composition you like, paste the details onto the background. Old photographs are pasted in their entirety, and the photograph is smeared. More or less large details of the drawing can be made from straws separately, and only then they can be compiled into an overall picture. To do this, cut out parts of the desired shape from thick paper or cardboard and stick straws on them one by one without gaps. It looks very nice when the direction of the straws is different in different details. The plasticine relief must be painted and varnished.
Step 3
Pick up a frame. A baguette frame is best ordered in a workshop. If the style is more suitable for a frame made of thin strips, you can make it yourself. Cut the backdrop out of thick cardboard. It should be slightly larger than the picture itself. Make a mat - cut out a square equal in size to the backdrop from cardboard of a suitable color, and inside it there is a hole for the picture. Saw the slats to size. Grind the corners from the center to the edges at an angle of 45 ° and glue the strips along the corner cuts. Bend a few small studs and hammer them into the slats from the side of the backing so that they hold it. There should be at least two studs on the short side.
Step 4
Think about how you hang the painting. There are special grooves on the metal frames. You can do the same on a wooden frame, or you can glue metal loops into the top rail and hang the picture on a cord or on a chain.


