Jennifer Lawrence could not help but be remembered for her role as the consummate winner of the Hunger Games. In addition, in life, the actress is quite versatile, and her appearance is attractive and unique.

It is necessary
- - A4 album sheet;
- - a simple pencil;
- - eraser.
Instructions
Step 1
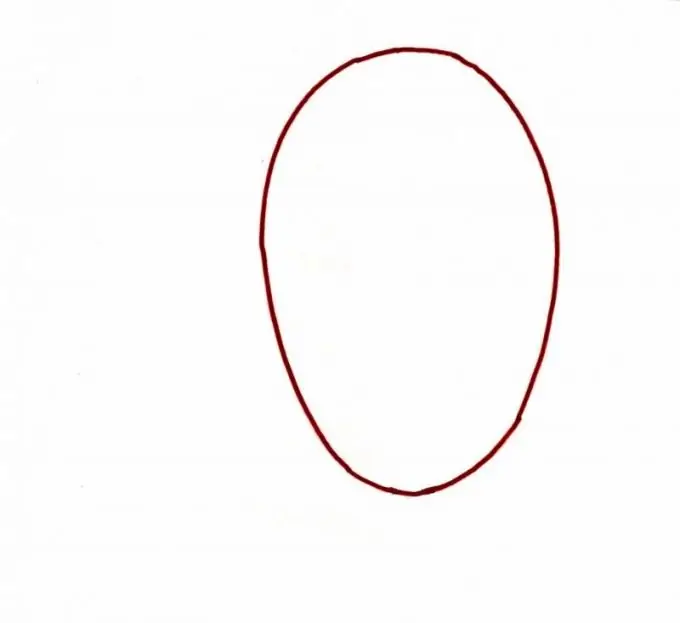
In order to draw Jennifer Lawrence, draw a large oval on the right side of the album sheet, which will later be transformed into the face of a young actress.
Step 2
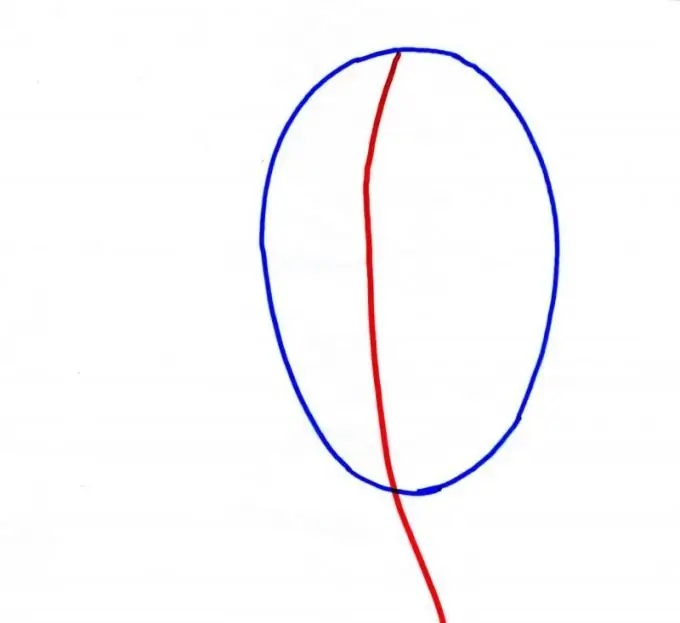
Further down the middle of the oval, closer to the left side, draw a slightly curved vertical line below the oval. In the future, this line will come in handy for the image of the neck.
Step 3
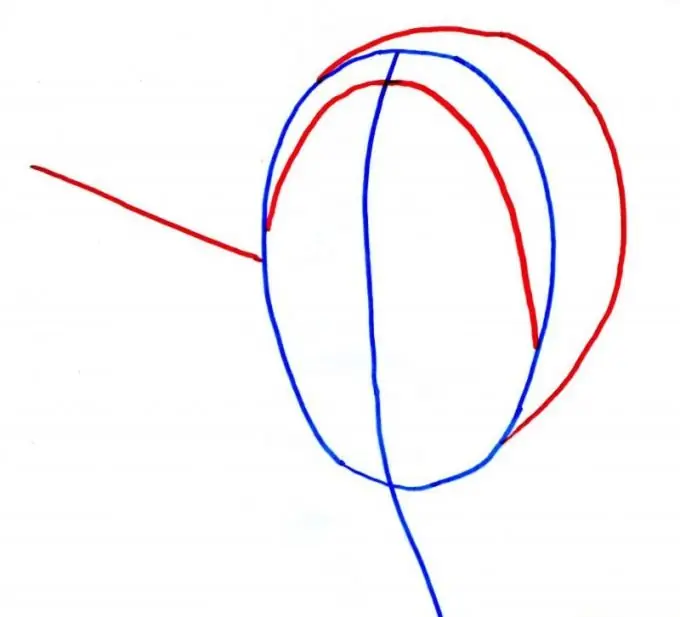
Then draw two crescent-shaped lines inside the oval and outside the oval. Then add a straight line to the drawing, which will serve to form arrows in the drawing.
Step 4
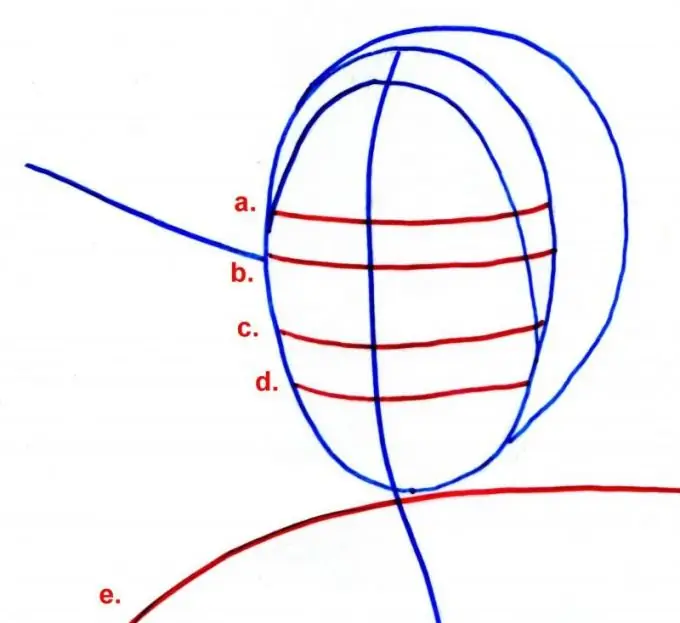
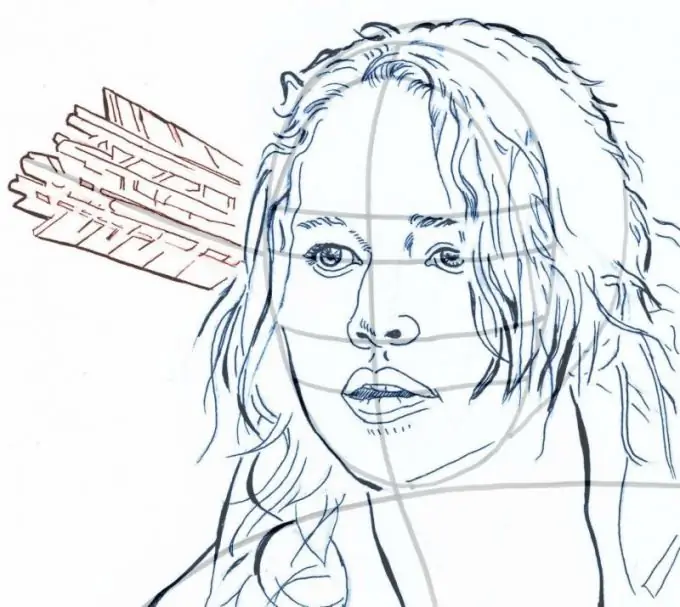
Now draw five horizontal lines as shown in the picture. Line A will serve to draw the shape of the eyebrows on the image, line B for the shape of the eyes, line C for the shape of the nose, line D for the shape of the mouth, line E for the shape of the shoulders.
Step 5
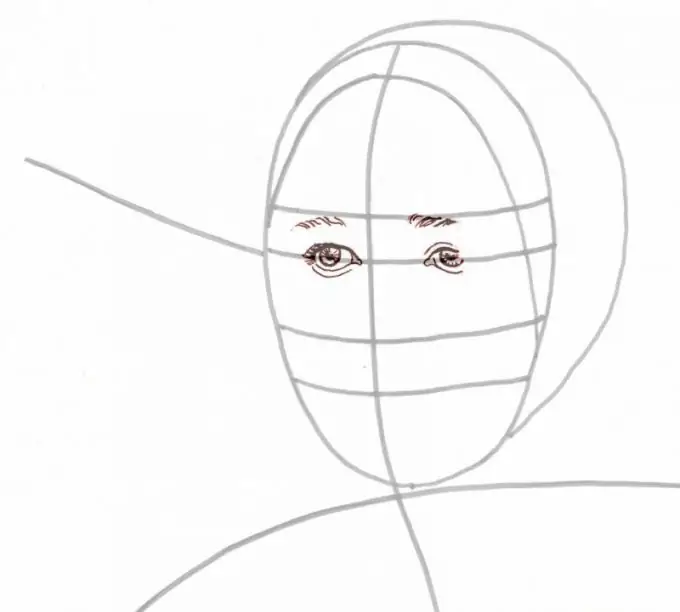
Then draw Jennifer Lawrence's eyebrows under the first vertical line, as well as the eyes of the actress. The center of the eyes should be on the second horizontal line. Please note that the actress's right eye is a little undersized.
Step 6
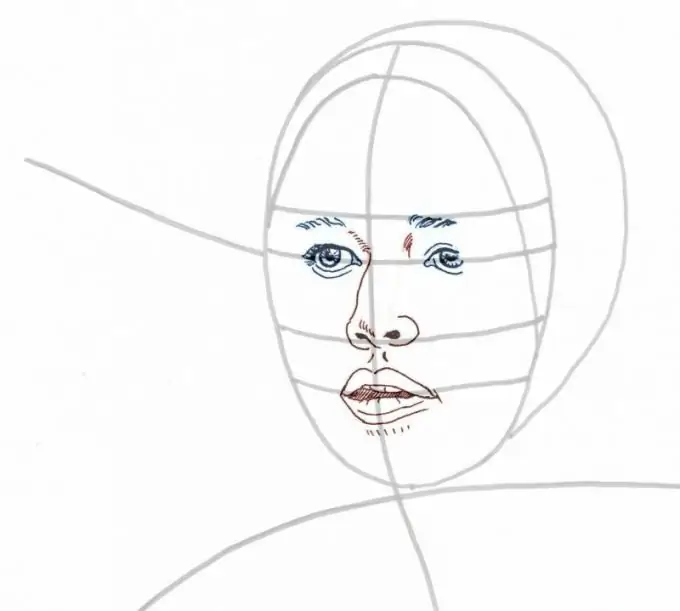
Draw a nose between the second and third horizontal lines, and place the actress's lips on the fourth line. The mouth should be ajar, inside draw the front teeth.
Step 7
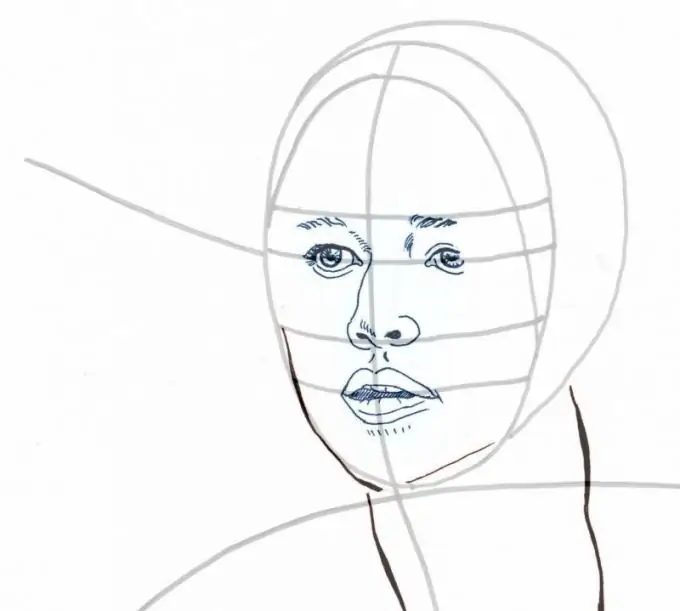
Now outline the outline of the cheek, the outline of the neck.
Step 8
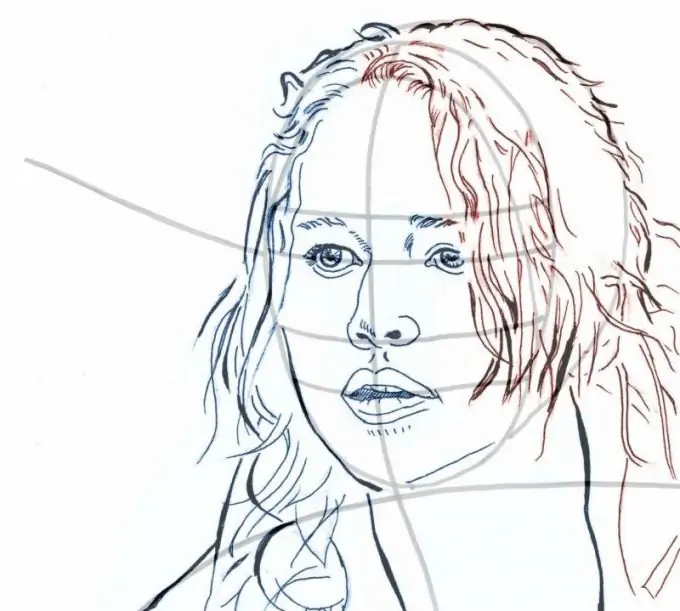
Draw the left side of the hair in the picture. Please note that Jennifer's hair is wavy, but not fluffy. Now draw the hair on the right side, the bangs should fall slightly over the actress's right eye.
Step 9
Draw arrows.
Step 10
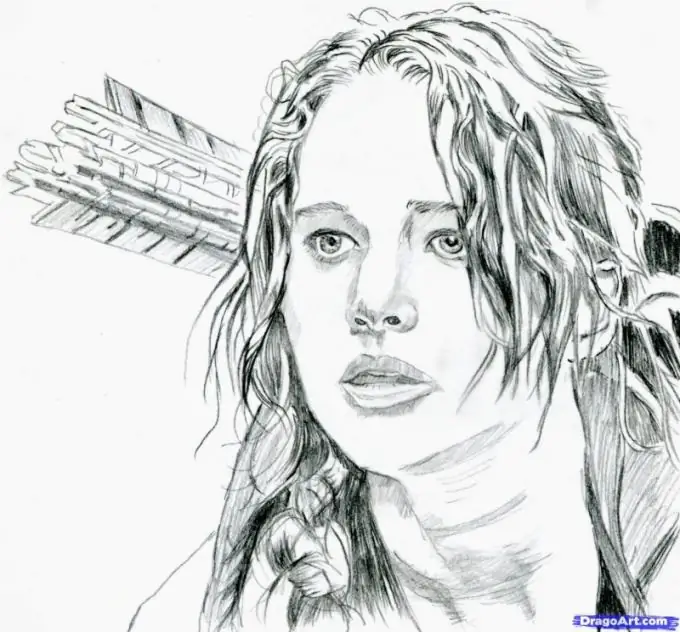
When all the main lines are drawn, start sketching the drawing with a simple pencil.
Step 11
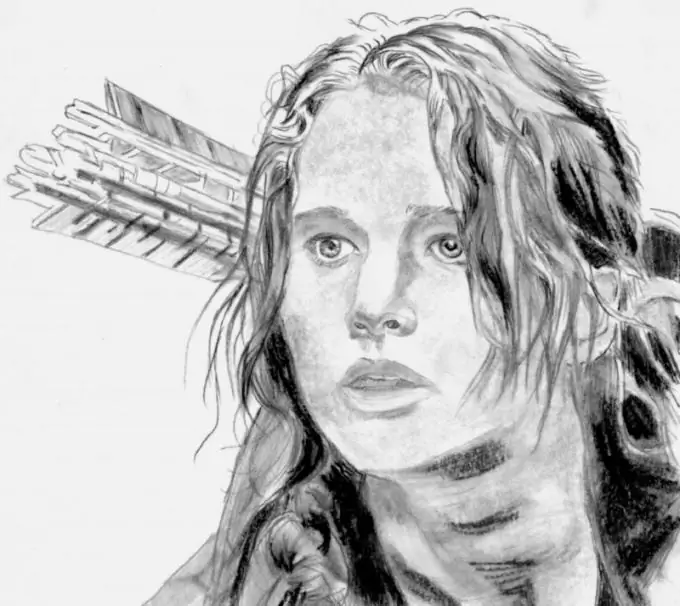
Next, darken and blend some parts of your design, such as hair, clothes, and neck. Try to blend so that all the transitions from one shade to another are smooth.
Step 12
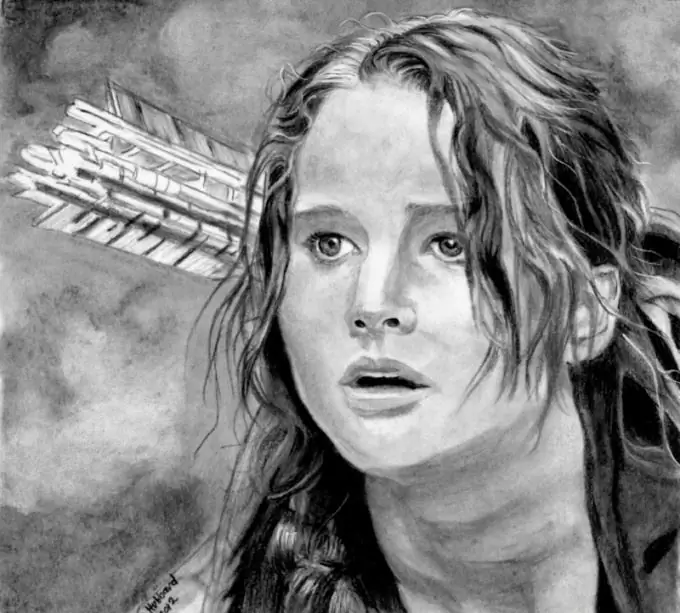
Continue darkening and shading your drawing as shown in the picture. Don't forget to darken the background as well to make the drawing look complete.
Step 13
The drawing is ready!


