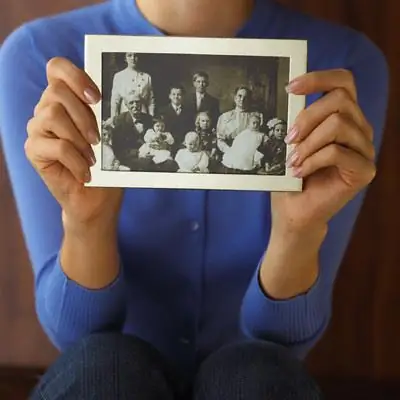
Time does not spare photographs, they age, fade, become covered with cracks, simply deteriorate. Restoring an old photo from a professional can be very expensive, but you can do it yourself, having mastered the skills of working in a graphic editor.

It is necessary
- - old photos
- - scanner
- - graphics editor
Instructions
Step 1
Select the photos you want and digitize them using a scanner. When scanning, try to use the highest resolution possible to reduce loss of information. If you do not have a scanner, you can re-photograph images with a digital camera, but their quality will suffer noticeably.
Step 2
As a graphic editor, you can use both the well-known Adobe Photoshop and its free GIMP alternative. Almost all editors have an "automatic photo enhancement" option in their toolbox. After clicking on its button, the program analyzes the image and automatically corrects parameters such as brightness, contrast, levels, color saturation.
Step 3
But the main problem with old photographs is the cracks and creases that have formed on them for a long time. You can eliminate them using the "cloning" tool, copying information from nearby areas of the photo into damaged areas. Tell the program the area of the snapshot from which it will copy information by clicking the mouse while holding down the alt="Image" key and carefully draw all the damage.
Step 4
Retouching photos is not a quick and rather painstaking business. It may well happen that you break through the first photo all day and even longer. But gradually you will fill your hand, the restoration of images will go much faster and will, moreover, bring a lot of pleasure.


