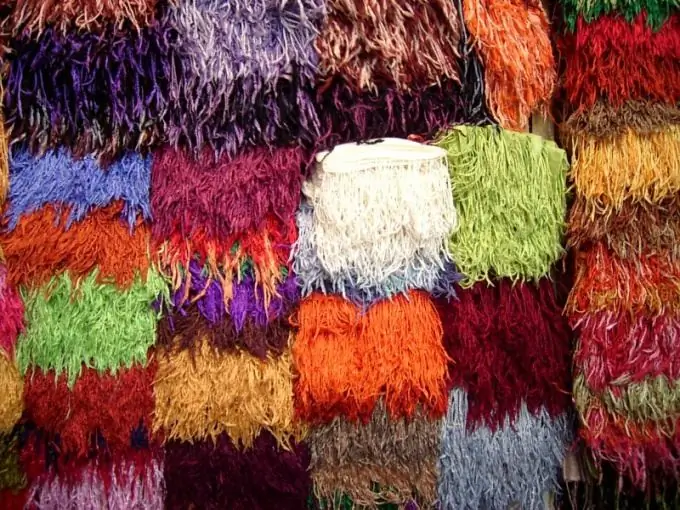
Wool is a great material for creativity. Wool paintings resemble watercolors. They are not afraid of bright lighting and temperature drops. They are always original and unique. Such pictures are obtained if wool fibers are applied to the base.

It is necessary
- - kleimerny frame;
- - multi-colored wool;
- - scissors;
- - flannel;
- - tweezers for laying out small parts.
Instructions
Step 1
For work, choose any plot that you like. Disassemble the clip frame, which consists of hardboard, glass and clip clips.
Step 2
Set the clays aside. Apply a flannel backing to the hardboard. It will help keep the wool fibers on its surface.
Step 3
Form the base layer of the picture. To do this, lay the wool on the surface. Fill the entire area evenly in any direction. Pull wool fibers in wide thin strands.
Step 4
Having laid out the working surface of the conceived picture, proceed to the formation of the background of the image. Use the pinching method.
Step 5
To do this, take a combed tape of the required color. With the fingers of the other hand, at the place of the fold, pluck out the surface fibers of the tape with quick and frequent movements. Put the resulting fluffy lump on the work surface. Having mastered the basic methods of creating woolen pictures, proceed to the execution of the pattern you need.
Step 6
Feel free to experiment. Wool of different colors can be mixed and curled. Roll into balls and cut with scissors if necessary.
Step 7
You can delete any unfortunate element of the picture. To do this, carefully peel off part of the layer.
Step 8
In the process of laying out wool fibers on a painting, it is advisable to accelerate its natural dumping. To do this, gently slap it with your palm so that the layers are held together.
Step 9
Apply glass to the work surface of your painting as often as possible. This will help you quickly find the flaws in your work and fix them right away.
Step 10
When working with wool, always refer to the image that you see under the glass. Remember that wool is bulky - under glass it flattens and grows in length and width.
Step 11
For paintings with dark backgrounds, use black flannel as a backing. This will save you woolen material.
Step 12
Laying out the picture, do not forget to shade the objects with the necessary color of the wool. Using the play of light and shadow, you can always bring your picture to life.


