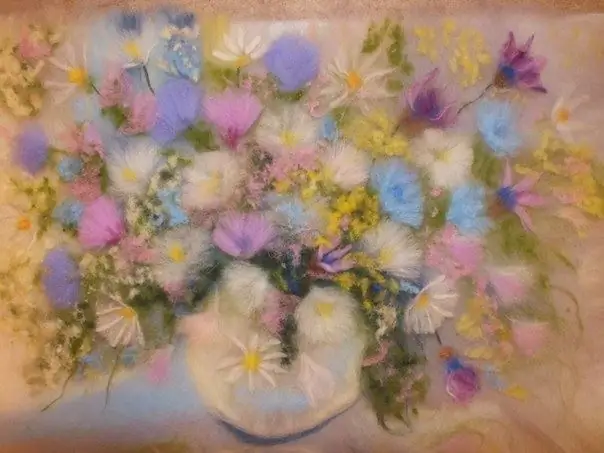
Wool paintings are often called warm, and the technology of their production is felt painting. Outwardly, they resemble works made with watercolors, but they are very pleasant to touch and iron.

What warm paintings are made of
It is quite simple to make a product, despite the seeming complexity of the process. The basis for success is skillfully selected shades of wool. To make a picture from this material, you will need a small amount of fibers of different shades, as well as:
- photo frame according to the size of the future canvas;
- flannel backing;
- scissors;
- tweezers.
Disassemble the photo frame, since it is more convenient to do the work directly on the substrate. The best option would be if it is made of hardboard. Cut a piece of white flannel according to its size (this material can be replaced with a dense non-woven fabric). Prepare a sketch of the future painting, for this you can use any plot you like, still life, portrait or landscape. Choose wool for felting the required shades, while it is not at all necessary to exactly repeat the original.
How to paint with wool
Using copy paper to transfer the design to the fabric, transfer the outlines of the main elements of the painting to the flannel. Press lightly on the pen or pencil, the lines should not be too bold. Place the prepared fabric on
Start drawing the picture from the background. Take a combed ribbon of the main shade in your left hand and pull out a strand of the desired thickness from it. Shake it lightly and place it on the prepared surface. Lay out the strands, placing them side by side, achieving the desired background. As a result, you should have a "canvas" completely covered with wool, through which the contours of the drawing should be slightly visible.
Add color spots to the background. Also stretch out small and thin strands of the desired shades and apply them to the main canvas. Pinch small elements such as clouds or shadows. Grab a few fibers, pull them out slightly and pinch off the combed ribbon. To get a background of a more saturated shade, connect several fibers and roll them together, then gently blend and attach in the right place of the future painting.
Next, start laying out the main picture. Start with the larger details. Pull a few strands out of bunches of different shades. Put them together and attach to the picture. Note the size of the element and tear off the excess. Shape the element with your fingers and place it on the work surface. Put all the elements on the picture in the same way, with the very last apply small parts with tweezers. During the process, periodically apply glass from the frame to see the final result.
When you are satisfied with the picture, carefully cut off the excess wool along the edges of the base with sharp scissors, being careful not to damage the picture. Clean the glass from the fluff that got on it during operation. Attach prepared glass and baguette. Secure the frame.


