Aladdin is a fairytale character invented by Disney. If you are a fan of this cartoon, try drawing Aladdin with a pencil and colored materials in just a couple of minutes.
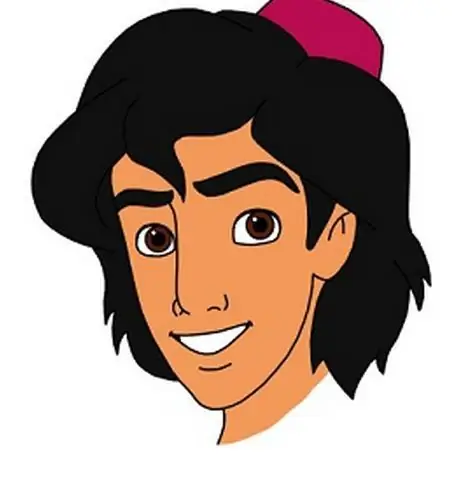
It is necessary
- -Paper
- -The pencils
- -Felt-tip pens
- -Eraser
Instructions
Step 1
Start drawing Alaldin with a pencil sketch. In the initial stages, do not press too hard with your pencil on the paper. Use light, smooth strokes to paint. This will help you erase the extra lines. First, draw an inverted egg shape for the head and add a neck.
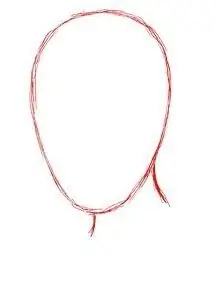
Step 2
Divide Aladdin's head in two with a horizontal and a vertical line. Sketch out the eyes. They should be located in the top 1 and 2 squares.
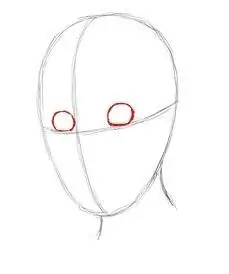
Step 3
Add eyebrows. These are two small, curved lines just above the eyes. Draw an ear in the middle of the entire head and a nose just below the middle. Draw the outline of the mouth.
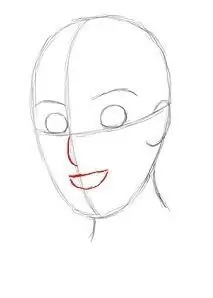
Step 4
At the top of the head, draw the outline of the hair. Remember that Aladdin's hair is thick and voluminous. Correct the line of the face, it should be slightly compressed inward (closer to the nose).
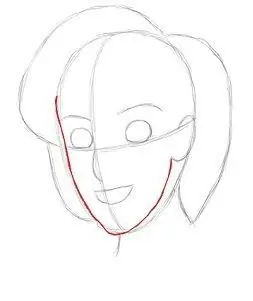
Step 5
Work on the image in more detail. Draw the pupils in the eyes and paint them with a dark color. Make your eyebrows thick. Just add another curved line just above the first brow line.
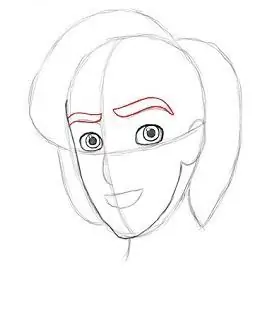
Step 6
Correct the shape of the nose. Add nostrils. Work on the chin, add one stroke below the mouth.
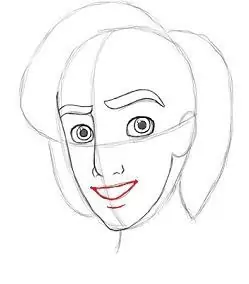
Step 7
Add expressiveness to your hair. Work out the tips carefully, they should be pointed towards the bottom.
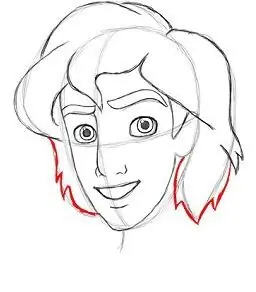
Step 8
Inside the ear, add a couple of lines. Don't forget to draw a hat. This is the rectangle that should be hidden under the hair.
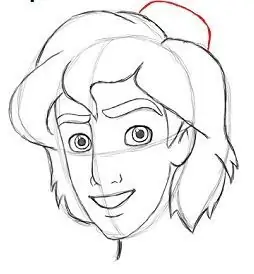
Step 9
Erase the extra pencil lines. Circle Aladdin more clearly. Now you can color it in with colored pencils.


