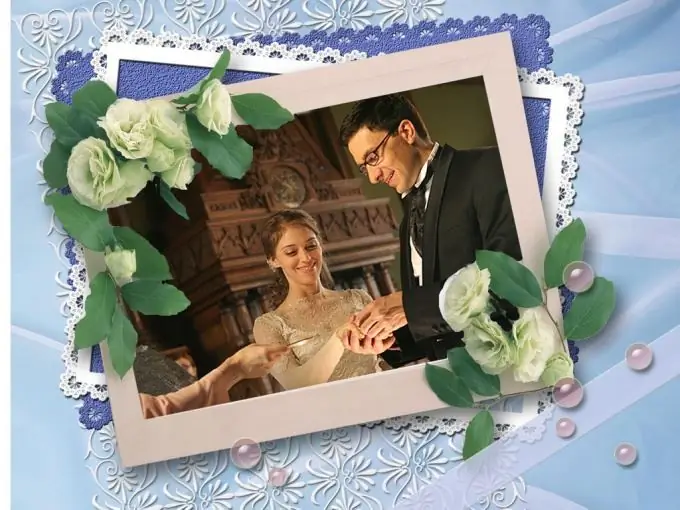
A photo collage can decorate the home page of your site, become a striking element of an advertising banner, or complement your photo book. If you don’t have time to learn Adobe Photoshop, you can use the simpler and more accessible for beginners program Google Picasa, which allows you to organize photos on your computer and has a number of functions for processing and optimizing images.

Instructions
Step 1
In order to create a collage using Google Picasa, install and run the program, and then select several photos that you want to put in the collage and create a separate folder with them.
Step 2
In Picasa, find the “Create Collage from Photos” option and click on the corresponding button. In the menu that opens, consider the "Settings" section. Choose a suitable collage design option from the list of templates provided.
Step 3
Go to the next tab and select the photos in your folder that you want to include in the collage - these can be all photos from the folder, or just some. You can set one of the photos as the background image of the entire collage.
Step 4
Go to the third tab and adjust the borders of the images, forming a beautiful template composition. Set frames on your photos. In the next tab, start composing the collage - place the photos the way you like, shuffle the images if necessary, rotate them horizontally or vertically. If you want, you can manually drag any photo to any free area of the collage.
Step 5
Now open the "Background Settings" section. Select the final background image for the photo collage, then resize the assembled photos and, if necessary, adjust the angle of their inclination.
Step 6
When everything is ready, click "Create Collage" - your collage is ready.


