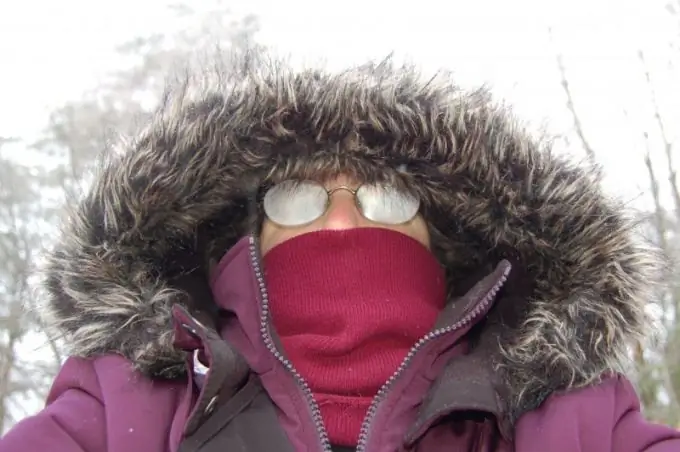
Hoods on outerwear are often provided with buttons so that they can be removed if they are not needed. If your coat or fur coat is not equipped with such a convenient addition, sew a fur hood with your own hands. It can be worn as an independent headdress or fastened to the collar.

Instructions
Step 1
Take measurements and build a pattern for the hood. Add 10-15 cm to the height from shoulder to crown, then find out the depth of the product, i.e. the distance from its anterior cut to the occiput. Draw a rectangle or round the top corner of the hood. At collar level, attach two rectangular pieces to the drawing, the height of which is equal to the distance from the chin to the collarbones. The length of these elements depends on whether you just want to zip up the hood or create a wrap with them.
Step 2
Pick up the material. Use a soft, warm fabric such as fleece for lining. Cut the upper part out of two pieces of fur. Lay each of them with the pile facing down. Circle the pattern with chalk. Cut out the fleece with scissors and the fur with a blade. For convenience, the blade can be inserted into an eraser.
Step 3
Sew the lining along the back, i.e. from the forehead towards the back of the head. Do the same with the front side of the product. Pre-sweep the fur parts by straightening the fluff from under the threads with a needle. For a neat seam, you can pre-trim the fur on allowances. Then sew with a special furrier overlocker or by hand.
Step 4
If the raising of the foot on a conventional sewing machine allows you, try sewing the hood on it using a 14/90 or 16/100 needle. However, this can affect the quality and durability of the product. Unlike the overlock, the machines use needles that are too thick for the fur. Over time, the holes in the hide will stretch and the garment will begin to rip apart at the seam. For the same reason, try to choose the thinnest possible needle when assembling the hood by hand. The seam can be pre-strengthened with a textile self-adhesive tape.
Step 5
Place both parts of the hood facing each other. Join them at the front and sew at the bottom, leaving a small hole for turning. Close it by hand with a blind stitch.
Step 6
Provide the "collar" with a large wooden button in color on one side and a loop on the other.


