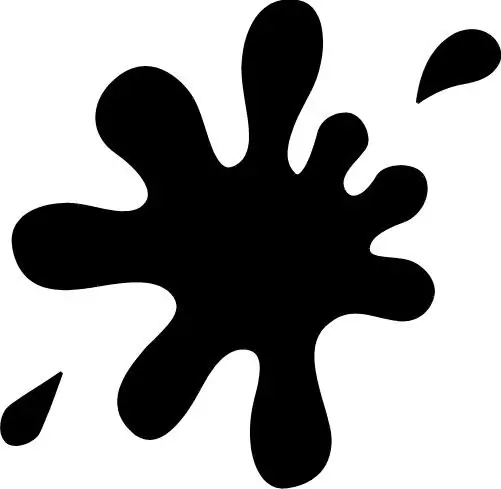
You can draw a realistic blot with the help of simple paints - gouache or watercolors, and with the help of Photoshop. The blot drawn in a computer program can be used for logos, advertisements, photo collages and Internet sites. You can draw such a blot in a matter of minutes, then use it for its intended purpose.

Instructions
Step 1
Create a new small document - 30x300px - and fill it with black. Now open the Edit menu and select the Define Brush Preset option. Create a new narrow black rectangle brush and create another 1000 x 1000 px document with a white background.
Step 2
From the list of brushes, select the brush created above and set the desired parameters - in the settings, check the boxes for Shape Dynamics, Scattering with a value of 77%, and Smoothing. Set the Brush Diameter to 191 and the Spacing to 356%.
Step 3
At the top of the created document, draw with the created brush an arbitrary set of vertical stripes of different lengths. As a result, you should have a horizontal stripe of various black stripes.
Step 4
Open the Filter menu and select the Distort section. Then click on the Polar Coordinates filter> Rectangular to Polar. The horizontal stripe will turn into a rounded shape with rays of different lengths.
Step 5
Create a new layer and fill it with white, and then click on the shape layer, holding down Ctrl to select it, and merge the layers (Merge Down). In the filter menu, select the Gaussian Blur option with the desired blur radius, which depends on how voluminous the blob should be.
Step 6
Open the Image menu and choose Adjustments> Threshold. Move the slider to adjust the shape of the future blot. When you are satisfied with the form, click OK.
Step 7
Smooth out the edges of the blot by selecting the white background with a magic wand (Magic Wand tool), and then invert the selection (Ctrl + Shift + I) and select the Make Work Path option with a value of 0.5-1 pxl. Create a new layer, go to the Paths palette and fill the path created above with black. The blot is ready.
Step 8
You can add any visual effects to it, add a shadow, paint it in any color and use it as directed.


