The image of a butterfly can be found on jewelry and painted woodwork, forged lattices and ceramics. Wherever you wish to place this amazingly beautiful creature, you must first learn how to draw a butterfly.
It is necessary
- - paper;
- - pencil;
- - a picture with a picture of a butterfly.
Instructions
Step 1
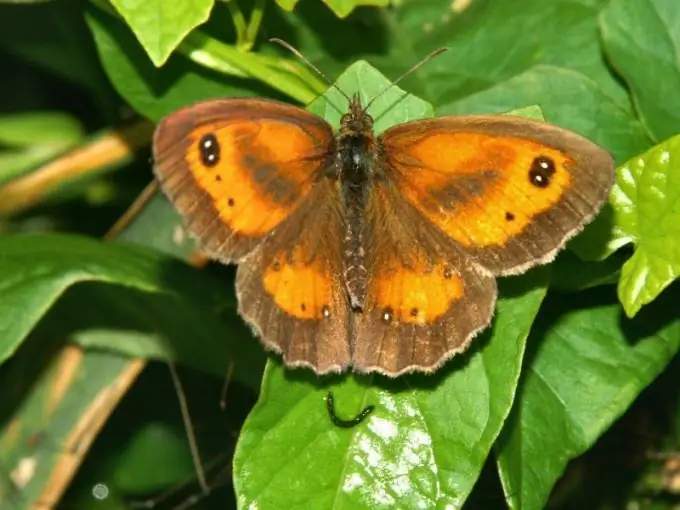
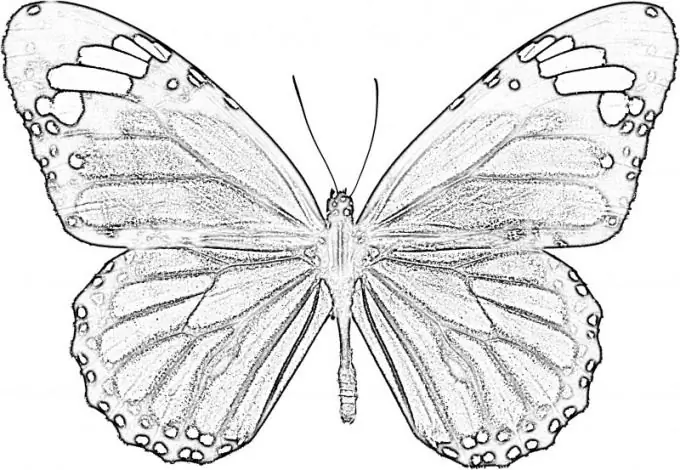
Consider a picture of a butterfly. The most important thing is to understand where its wings grow from. Novice artists often make the mistake of drawing a pair of rear fenders to the bottom. Both pairs of wings grow from the body. Pay attention to the structure of the torso. The butterfly has a small round head, a long oval body and a tail that looks like a triangle on a plane.
Step 2
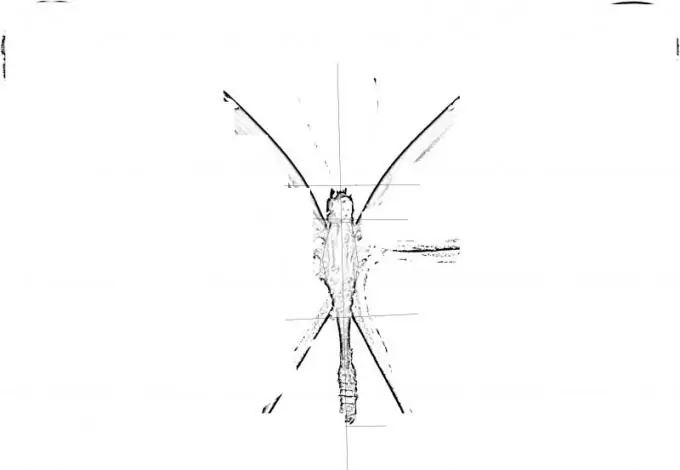
Draw a vertical line. Mark on it the total length of the butterfly's body. Divide the segment into 2 approximately equal parts (the lower one may be slightly longer than the upper one). Divide the upper part into about 4 parts.
Step 3
Draw a round head at the topmost segment. The line may be wrong, so do not use a compass. In the middle, draw an oval so that the vertical line you drew is its long axis. The width of the oval is approximately equal to the width of the head, but may be slightly more or slightly less. At the bottom, draw a long isosceles triangle. The tip of the tail can be cut off or rounded off slightly.
Step 4
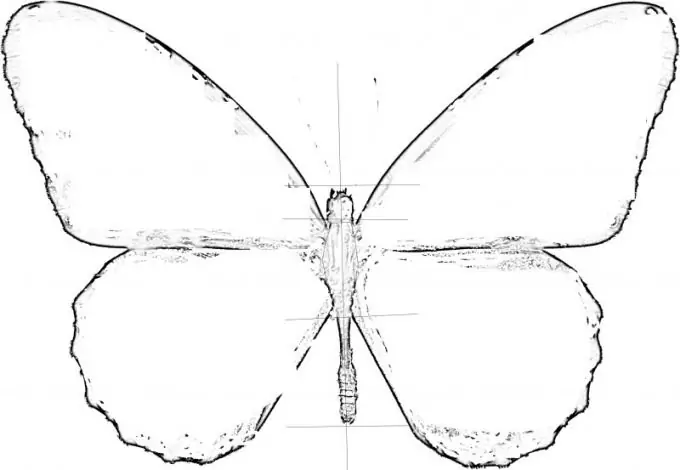
Mark the directions of the wings. The contour lines run up and down in relation to the centerline at an angle of approximately 45 °. The wings close approximately in the middle of the body, it is better to mark the connection point immediately.
Step 5
Draw the outlines of the wings. In almost all butterflies, the pair closer to the head is much larger than the back one. The upper wings have a shape close to trapezoidal, the lower ones resemble a rose or poppy petal. The wings can be very large. The contour line of the upper wing can be about one and a half times longer than the body, including the head and tail. Draw a trapezoid starting from the head and ending with the mark where the wings meet. Round the outside corners.
Step 6
The lower wing can also start with a trapezoid. The lower contour line begins at a short distance from the tail, it is approximately equal to the length of the body. The second contour line of this wing has almost the same length. Make marks at the ends of the segments and connect them with an arc.
Step 7
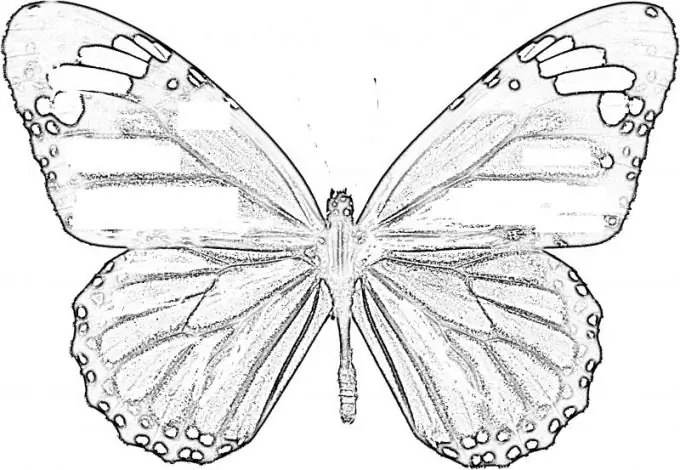
Please note that the butterfly is absolutely symmetrical. Draw the second pair of wings in a mirror image. Draw veins on all wings - straight, diverging to the ends.
Step 8
The wing pattern can be very intricate. It consists of spots, stripes, teeth, etc. Make it the way you like it, unless, of course, you are drawing a butterfly of some particular kind. Draw in a long mustache. Trace the outlines and the brightest spots with a softer pencil.


