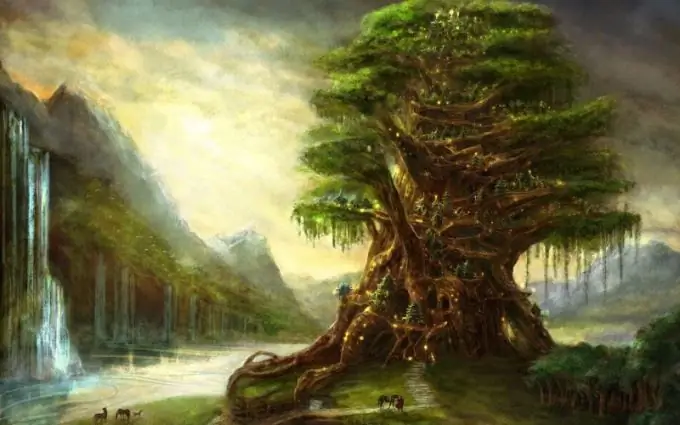
Rarely a landscape is complete without various trees, so novice artists should know the basics of depicting these plants. When drawing absolutely any objects, it is necessary to carefully study their basis, structure and details. Therefore, observe the trees in the park or look at them in photographs.

It is necessary
- - brushes of different sizes;
- - paints;
- - photos of trees.
Instructions
Step 1
Some trees aspire upward, some are spread out in width, others have a triangular crown shape - the differences are visible to the naked eye. Try to draw three types of different trees, and then it will be easier for you to draw the rest of the species. The first is plants with a thick trunk and a gorgeous crown, the second is thin trees with leaves at the top, the third is conifers.
Step 2
Draw the tree in stages, dividing it into parts. Start from the very foundation - from the trunk of the plant. Take a thick brush and draw a wide, slightly curved line. Change the tool to a smaller one, draw the main branches with it, gradually reducing the line to nothing.
Step 3
Draw smaller branches with an even thinner brush, there should be a lot of these details for greater reliability. Very thin twigs can be depicted as a cobweb of small strokes.
Step 4
Some slender trees are shaped like the letter "U". Try to depict a birch, for this paint the trunk with gray paint. It will be tall and flexible, with branches starting towards the top. Draw them not as spreading as in the first case, but with the tips slightly bent inward.
Step 5
Please note that the color of the trunk of these trees changes with age. Young birches are light, almost white, and old ones are covered with rough black bark. The branches of some of these trees bend downward, as their tips are long and thin. Carefully study the photos, try to catch the direction of growth of the branches of a particular type of tree.
Step 6
A coniferous tree has a straighter trunk than a deciduous tree. Fir trees have branches growing downward and are arranged in tiers on the tree. The lower branches can grow very low, practically creeping along the ground. Conifers have clearer ordered forms, the branches are straight. Paint all these features and details, varying the thickness of the brushes.
Step 7
The next step in creating a tree drawing will be the drawing of the bark. The bark of trees does not have a uniform color and shape. If you want to paint recognizable images, pay attention to the surface of the barrel. Thick trees are covered with winding bark lines.
Step 8
With dark paint, draw these lines vertically first. Make broken strokes. To add volume, apply next to dark light lines. After the paint is dry, add horizontal strokes. Choose the direction of the light source. Apply eyeshadow.
Step 9
Thin trees have a more uniform bark that can be depicted with color spots. The trunk is always darker at the bottom than at the top. When drawing birch bark, alternate between ivory and white spots, add gray and black strokes.
Step 10
The trunk of coniferous trees is covered with exfoliated bark scales. Add volume to the wood with strokes of different colors, not forgetting the direction of the light. Draw the "husk" with the addition of yellow.
Step 11
The last stage of the drawing will be the creation of the crown of the tree. Draw the shape and color of the entire mass of leaves, looking at nature or at a photograph. Apply base color and crown shape. Add light spots and individual fragments, making a selection of the group of branches. Think about the shadows, keeping the direction of the light in mind.
Step 12
If you want to draw the leaves in more detail, do it already on top of the main picture. Examine the leaf structure of the depicted tree. Apply a thin stroke - the main vein. Draw the shape of the leaf and fill it with paint. Give volume to the image by lightening and shading individual parts of the sheet.
Step 13
Draw the needles, starting from the dark lower layers, with short strokes of a thin brush. Add lighter and more yellowish strokes on top. The tip of a branch in some conifers ends with a reddish-brown thickening.


