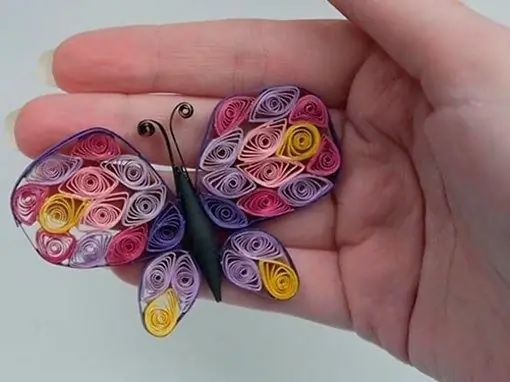
The intricate paper art of quilling originated in medieval Europe. The nuns made medallions by decorating them with strips of paper with gilded edges twisted at the tip of bird feathers. It was this instrument - the feather of a bird - that formed the basis for the name of this lesson, because quil is translated from English as “bird's feather”.

It is necessary
- - paper strips 3, 4, 6 and 10 mm wide;
- - paper curler / thick needle;
- - scissors;
- - PVA glue;
- - tweezers;
- - toothpicks;
- - cardboard;
- - a stencil for blanks.
Instructions
Step 1
Before you start creating paintings and panels using the quilling technique, learn how to make the basic elements. First, master a tight spiral - this is the basis of all elements. Take a thick needle or a paper curler and start winding tightly on the paper strip. Then, when it is already convenient to hold the workpiece with your fingers, remove it from the needle, using tweezers, and continue winding. Using a toothpick, apply glue to the free tip of the resulting spiral and glue so that it does not unwind.
Step 2
Try other elements based on the twisted spiral. For example, a free spiral. To do this, after making a workpiece, do not immediately glue the free end, but hold it in your palm so that the tension of the turns looses a little, and only then secure the end of the strip.
Step 3
The next element is a tight oval and its variations. For twisting, use a wooden stick with a diameter of 6 mm or more. Roll the paper, lock the end of the blank and squeeze the blank to form an oval. Now make a free oval: wind a strip of paper around the needle, let the curls loosen, flatten the blank to form an oval, and fix the end.
Step 4
Further, the free oval can be transformed into the elements "drop" and "eye". For the first element, squeeze one edge of the resulting oval until a crease is formed, for the second, both edges. Thus, you can give a circle and an oval different shapes - a leaf, a semicircle, a square, etc.
Step 5
Having worked out the elements, you can begin to complete the picture or panel. To do this, sketch out a sketch (practice on plant motives) and, choosing the necessary elements, assemble the picture. To do this, simply glue the blanks onto the cardboard. The size of the picture elements can be varied by cutting different lengths of paper strips and using a stencil.


