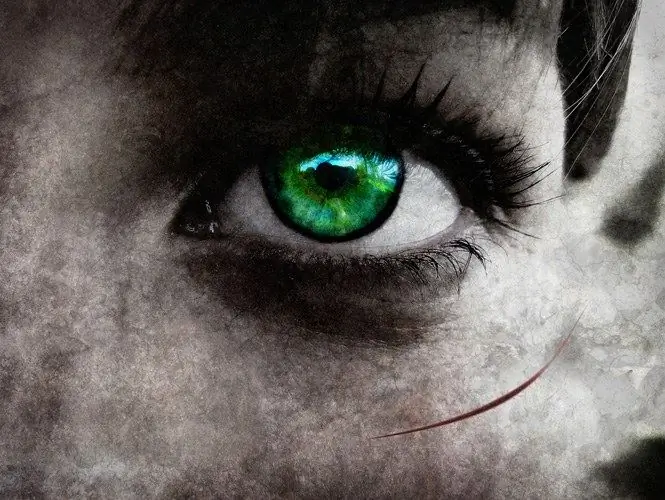
One way to simulate scars is to use the Brush tool in several modes and add layer effects. All these steps can be performed in the Photoshop editor.

It is necessary
- - Photoshop program;
- - the photo.
Instructions
Step 1
Open the image on which you are going to paint the scar in Photoshop and create a new layer in the document by clicking on the button at the bottom of the layers palette.
Step 2
Draw the base of the scar. To do this, turn on the Pen Tool in Paths mode and create two anchor points by double clicking on the document. Bend the resulting line if necessary.
Step 3
To draw a scar with thin edges and a wider middle, apply a stroke to the created path. Adjust the diameter of the Brush Tool, keeping in mind that it will match the thickness of the path. Choose dark brown as the base color.
Step 4
Click on the layer in the Paths palette and select the Stroke Path option. Select Brush as the stroke tool and check the Simulate Pressure checkbox.
Step 5
Using the Brush Tool in Color mode, paint the image with shades of red. To make the brush leave marks only on the area of the scar, load the selection with the Load Selection option of the Select menu. Now the changes will only be applied to the selection.
Step 6
Use a layer style to create a volume effect on the edges of the scar. Apply the Outer Glow option in the Layer Style group of the Layer menu. Set the Opacity parameter in the style settings to about fifty percent. Select red-brown as the glow color. Adjust the size of the effect so that a narrow light streak appears around the scar.
Step 7
Needle marks can be drawn around the edges of the scar. This is done with the Brush Tool in Color Burn mode. The diameter of the tool's brush should be no more than two to three pixels. Decrease the value of the Opacity parameter in the Brush Settings panel to ten to fifteen percent.
Step 8
To create several parallel scars, duplicate the edited layer using the Layer via Copy option of the New group of the Layer menu and move the copy of the layer down using the Move Tool. Reduce the size of one of the scars slightly with the Free Transform option of the Edit menu.


