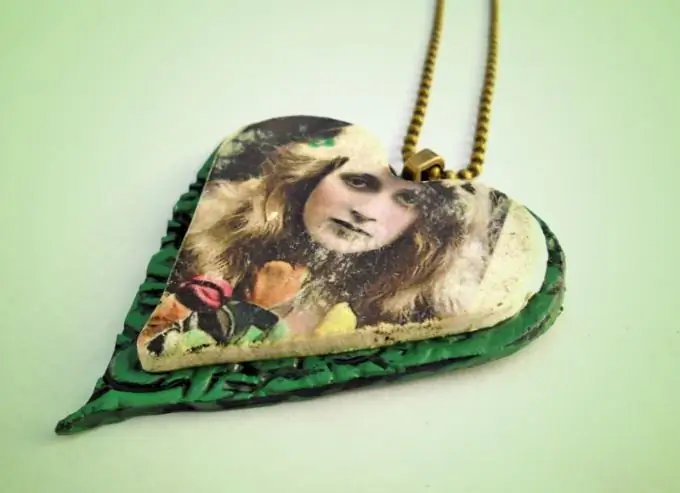
Making jewelry out of plastic - polymer clay - is exciting very quickly. The techniques used are very different. This includes millefiori, mokume-gane, mika-shift, filigree, and transfer. Transfer is the translation of pictures onto plastic. About him will be discussed.

It is necessary
- - baked polymer clay
- - sheet with the image
- - formic alcohol
- - cotton wool
- - tweezers
- - gel or varnish
Instructions
Step 1
Roll out a layer of white plastic, give it the desired shape. Cut out the picture so that its edges completely overlap the product. Press the image to be translated firmly, face down, against the plastic. At this stage, you can make holes for the fittings.
Step 2
Soak cotton wool in formic alcohol and dampen the paper pressed against the plastic. If you do not mind alcohol, you can fill it with a product with a translation. As a result, the paper should be completely saturated with alcohol.
Step 3
Take a smooth object with a blunt end and start sliding the edge over the picture on the head, paying close attention to the edges. In this case, the paper should not roll. That is why you cannot translate the image with your fingers. Make sure that the transfer surface is always wet. Repeat these steps several times.
Step 4
As a result of your actions, the paper should delaminate. Using a pair of tweezers, gently grasp the edge of the paper and very carefully peel off the top layer. Only ink should remain on the plastic, and you have a perfectly white, smooth sheet in your hands. After that, do not touch the surface of the product. If you need to correct the shape, be very careful - it is very easy to blur the image.
Step 5
Now bake the product in accordance with the instructions. For "Fimo", the temperature is usually indicated at 110-120 ° C, and the heat treatment time is at least half an hour. However, it depends on the thickness of the product. Plastics with translated pictures can be cooked, but at the same time they must be thrown into boiling water so that the drawing grabs immediately. Also, with this method, you should not cook several products at once - if they come into contact in water, they can lubricate each other's drawings.
Step 6
After complete cooling, the product is ground, polished and varnish or a layer of transparent or liquid plastic is applied. If you choose the second option, you will need to bake again.
Step 7
In addition to the above, there are also ways to translate a picture using thermal transfer paper, liquid plastic, mineral oil.


