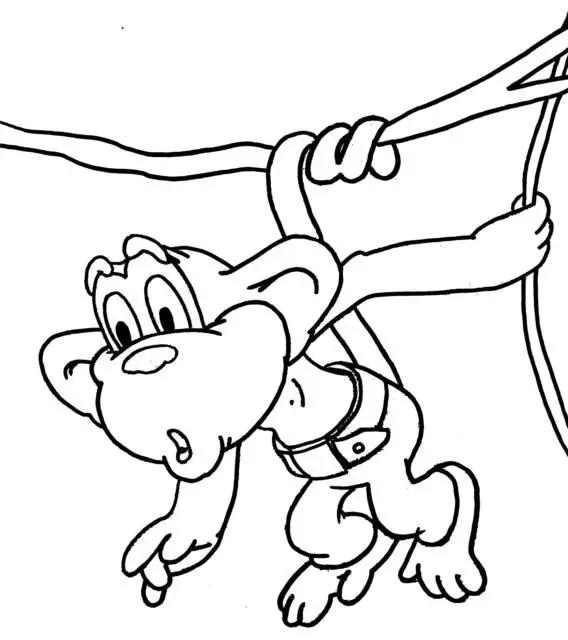
It is better to learn to draw, as they say, "from a young age", so that children with this subject at school would not have any problems. Drawing an animal, such as a monkey, can be a great way to practice for schoolchildren. It will be very interesting for schoolchildren to try to repeat this rather complex drawing and be happy to note the similarities with the original.

It is necessary
- - a piece of paper, at least a notebook, at least a landscape;
- - set of pencils;
- - eraser.
Instructions
Step 1
First of all, take on the image of auxiliary elements, with which you can already depict the drawing itself. Draw three circles of different sizes, one below the other. Moreover, they should not be located strictly vertically, like snowballs in a snowman, but slightly diagonally. Next, connect the lower and middle circles with an arched line - get the back of the future monkey.
Step 2
To depict the face of an animal, draw something like the beak of a bird to the circle-head. It is not necessary to try to draw small details - it is too early. Also sketch out the monkey's belly and knee.
Step 3
Now you can start detailing the picture. Draw the cheek and eyes on the head. Draw two lines from the middle circle - this will be the paw of the animal. Now go on - add a hind leg to the monkey.
Step 4
Then add a few more details, namely the nose, bangs (with a few strokes), the eyelet and the tail. Draw the second front paw and paint the brushes.
Step 5
The drawing of the monkey is almost ready. Continue to draw the rest of the small details, such as a few protruding hairs on the crown, upper and lower jaws, eyebrows above the eyes. Draw the toes on each of the paws and detail the tail, adding some protruding hair-tassels in some places to make it look more realistic. Add tassels on the elbows and other "problem" areas.
Step 6
Now you can pick up the eraser and begin to neatly erase the auxiliary lines. After that, draw the missing elements with a simple pencil and start coloring the picture. At this stage, you can use both colored pencils and paint, be it gouache or watercolor.


