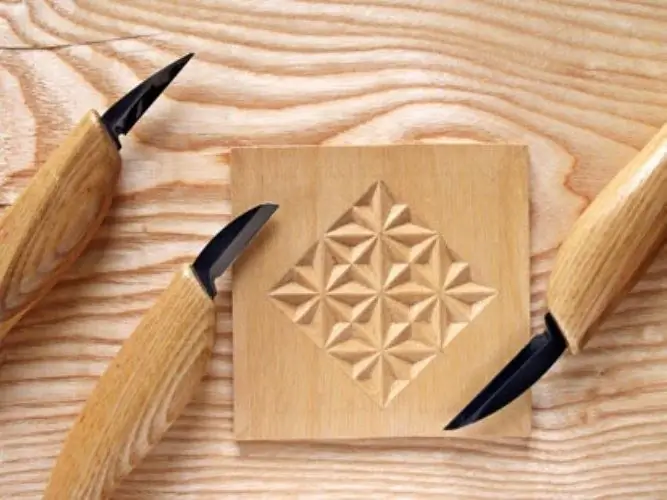
Wood carving compares favorably with many types of applied art by the grace of forms and a variety of artistic solutions. In the hands of an experienced craftsman, dead wood comes to life, turning into a unique composition from a combination of the most bizarre forms. But to fully master the skill of the carver, you will need to go through the initial training stage.

It is necessary
- - tutorial;
- - material for carving;
- - pocket knife;
- - jamb knife;
- - ruler;
- - pencil.
Instructions
Step 1
Determine for yourself how important it is for you to engage in this type of creativity. If woodcarving is for you a momentary impulse, then at the first unsuccessful attempts to create a highly artistic work, you may lose interest in the business. To achieve outstanding success, you will need to prioritize this craft among other values in life.
Step 2
Stock up on literature covering the technology and secrets of woodcarving. There are now a number of tutorials that are useful for both novice carvers and experienced craftsmen. From the literature, you can learn about the correct choice of tools, wood species, and the formulation of work techniques.
Step 3
Prepare tools for working with wood. To get started, you need a well-honed pocket knife and a joint knife. In the future, you will need a set of cutters and chisels of different profiles and sizes. Possessing minimal locksmith skills, you can make a tool yourself in your home workshop.
Step 4
Choose a place where you can do your artwork without disturbing your family or carrying trash around the apartment. Ideal if you have a separate work space, but a loggia or glazed balcony is fine.
Step 5
Stock up on thread material. The beginning carver should start with alder, aspen, or linden. These types of wood are excellently cut along and across the grain, forming an even and smooth cut during processing. It is advisable to have at your disposal several dozen small-sized workpieces, on which you can try your hand at mastering individual carving techniques.
Step 6
Start sequentially mastering the carving technique. From a variety of styles, a beginner should choose the triangular-notch technique, also known as geometric carving. It includes two main steps - pricking and pruning.
Step 7
To cut out the simplest triangle, draw a dot in the middle. Insert the tip of the jamb knife into this place, placing the handle strictly vertically. Direct the heel of the knife to one of the vertices of the triangle and press the handle with force. The tip of the tool should enter the material by 2-3 mm.
Step 8
From the midpoint of the drawing, prick in the direction of the other two vertices of the triangle, while rotating the board, not the knife. When you are finished pricking, proceed to pruning. At the same time, hold the knife at an angle of 30-40 degrees to the surface of the workpiece. Slowly slide the tip of the knife along the side of the triangle, gradually deepening it into the wood. With accurate trimming, a piece in the form of a triangular pyramid will separate from the board. Work through all the elements of the pattern sequentially.
Step 9
As the skill develops, move on to more complex forms that use a combination of individual techniques. With enough diligence, over time, you will certainly be able to develop your own unique carving style that reflects your creative personality.


