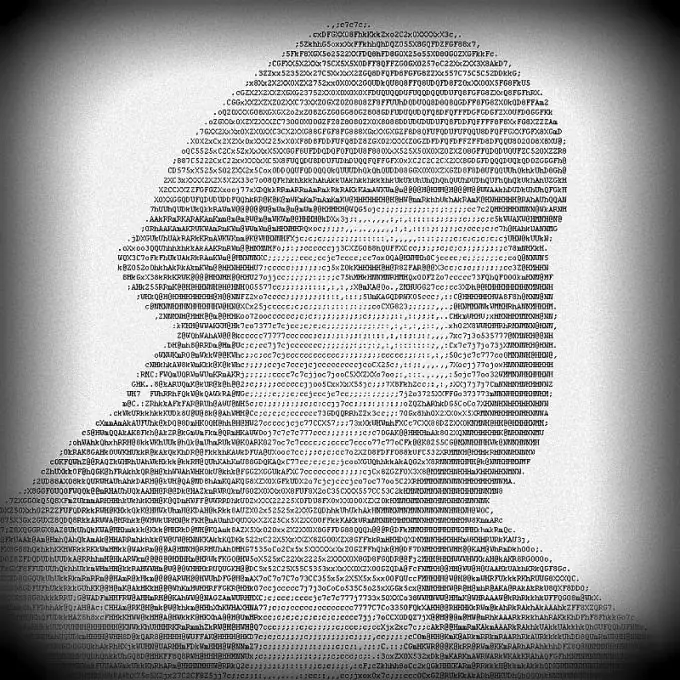
The trend in graphic design, later called ASCII art, began to stand out in the middle of the nineteenth century. Its concept is to create images from symbols. ASCII art spread through the advent of typewriters and was considered art for a while. Today, with the help of computer programs, anyone can make a photo from symbols.

It is necessary
- - access to the Internet;
- - Windows computer.
Instructions
Step 1
Load the photo file into the GIMP graphics editor. To do this, use the keyboard accelerator Ctrl + O or select the "File" and "Open …" items from the menu. Select the storage medium in the Places list of the Open Image dialog that appears. Navigate to the desired directory. Highlight the image file. Click the "Open" button. The GIMP distribution can be downloaded for free from gimp.org
Step 2
Edit the image in GIMP. Crop it by deleting unnecessary fragments. Fill the background areas with white. To do this, set the appropriate background color, use the selection tools ("Smart scissors", "Select adjacent areas", "Select by color", etc.) to indicate areas of the background, select the "Clear" item in the "Edit" menu or press Del. Cast the image to grayscale. Sequentially select from the menu "Tools", "Color", "Desaturate". In the dialog that appears, specify the required parameters and click OK. If necessary, change the physical resolution of the image by choosing the menu items "Image" and "Image size"
Step 3
Save the modified photo. Press Ctrl + Shift + S or select "File" and "Save As …" from the menu. Specify the directory and file name. Click "Save"
Step 4
Download and start using the free ASCII Generator software. Open sourceforge.net/projects/ascgen2/ in your browser. Click the Download button. Wait for the download process to start. Save it to your hard drive. Extract the ascgen2.exe file from the resulting archive and run
Step 5
Open the photo in ASCII Generator. Press Ctrl + I or select File and Load Image from the menu. In the dialog that appears, specify the file saved in the third step. Click the "Open …" button
Step 6
Set the parameters of the ASCII Generator in order to make a photo from the symbols the most suitable for your needs. In the Size fields on the top toolbar, enter the appropriate values for the number of characters in the resulting image horizontally and vertically. In the Characters drop-down list, select the character set used for the generation. Click the Font button and choose a suitable font. It is desirable that it be monospaced
Step 7
Save the photo from the symbols. Press Ctrl + S or select Save As. in the File section of the main menu. In the dialog that appears, click on the Text button if you want to save the result as text. Click Image if you want to create a graphic file with a photo consisting of symbols. Click OK. Specify the target directory and the name of the resulting file. Click "Save".


