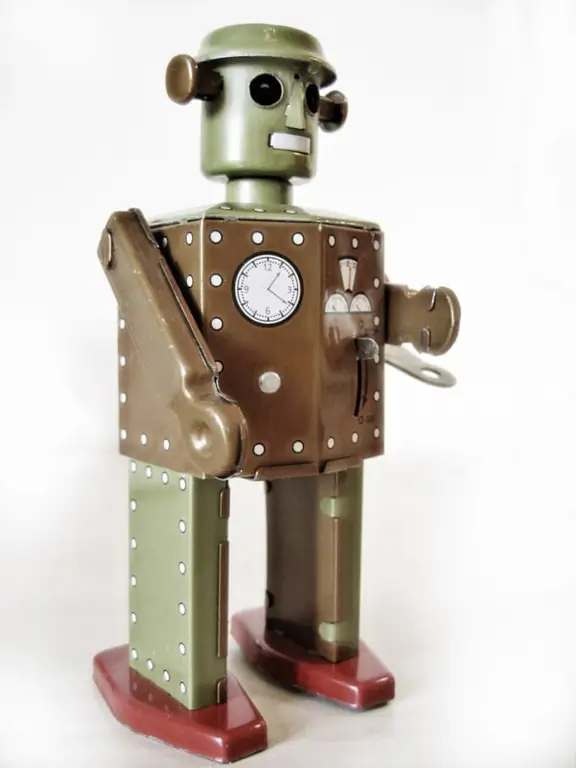
Transforming toys delight both parents and children. The first ones get several toys for the price of one, the second ones - an additional incentive to connect their irrepressible imagination. By combining the ingenuity of the older and younger generations, a transforming robot can be made by hand.

Instructions
Step 1
Make the individual parts of the toy. Saw cubes, pyramids, parallelograms and cylinders from wooden blocks. The minimum set of parts should consist of one cube (or cylinder) for the head, 6 identical blocks for the torso, 2 long blocks for the arms and 2 for the legs, a couple of small blocks for the feet and the same for the hands. The rest of the elements of different shapes will complement the transformer.
Step 2
Consider a fastening system for parts. One option is to equip all the cubes with buttons. Take large buttons for clothes. Attach one half of the fastener with thin studs or a furniture stapler in the center of the cube, fix the other on the opposite side of it. Parts equipped with such fasteners (of the same size) can be connected, interchanged and rotated around their own axis.
Step 3
Give wood pieces a metal look. To do this, paint them with metallic acrylic paint. Cover all elements with a basic gray color and wait for the paint to dry. Then, in a darker shade using a thin brush, paint nails, rivets. On the head of the transformer, depict his face with luminous sensors instead of eyes and an iron grill instead of a mouth. To make the drawing look three-dimensional, draw highlights and add shadows on each element.
Step 4
Lighter materials can be used instead of wood. Cubes from a children's designer (made of soft plastic) or glued from a figure are suitable. Attach the buttons to such elements with wire, stitching them through and connecting the halves of the fasteners on opposite sides.
Step 5
To make the toy more solid, place the main parts of the toy on the wire frame. Then the arms, legs and body of the robot can be moved about the central axis, while maintaining the overall shape and not risking losing half of the elements during the game. Provide many additional parts with a push-button mount.


