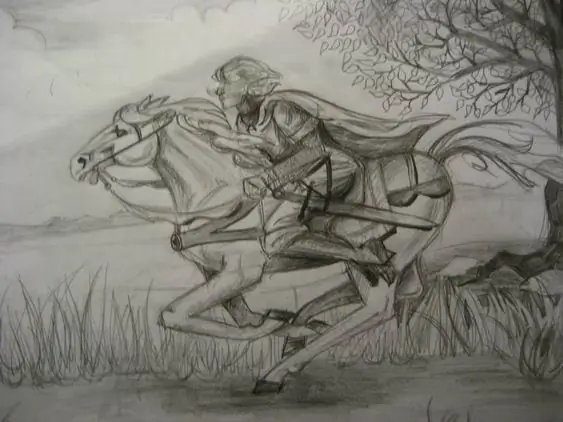
Drawing a rider is a rather difficult task. Here you will need training in the technique of drawing a man and a horse. Moreover, both of these drawings will have to be combined, but here, too, there are nuances.

It is necessary
A sheet of paper, a pencil, an eraser, materials for work in color
Instructions
Step 1
First, choose in what position the figure of the horse and rider will be, respectively. Either it will be a drawing from a quiet walk, or from a horse race. Check out various photographs on the internet to get a better idea of your drawing. Pay attention to the position of the person in the saddle, how his legs, arms, back are located.
Step 2
After preparation, place a sheet of paper vertically or horizontally and sketch the general drawing with light strokes. Indicate the position of the horse and rider. If desired, outline the details of the background, landscape. Then, using a simple pencil, begin to sketch in more detail.
Step 3
Use light lines to indicate the position of the horse's body, neck, limbs. Then "put" a person on it, indicating the position of the back, arms and legs.
Step 4
Next, outline the body parts of the animal and the person with ovals and circles. Do not try to immediately draw clear lines, the drawing will be corrected and refined many times in the process. Don't forget about the proportions in the bodies of the objects.
Step 5
Start drawing details with a drawing of a person. Note that the rider's back should be straight to feel the line of the spine, but do not "arch" your drawing person too much. Also remember about the correct landing - when galloping, jumping, the rider leans forward to stay in the saddle, and in no case sits upright.
Step 6
Gradually drawing a person, going down below, pay attention to the drawing of the horse. "Splic" together the ovals, giving them the characteristic features of an animal - a powerful neck, outline the mane, specify the position of the limbs.
Step 7
Use the eraser to erase the auxiliary and invisible lines. Now outline the details of the clothing, as well as the saddle, reins, stirrups, etc. To more accurately convey the parts of the horse's "outfit" (saddle, girth, stirrups, reins, etc.) - look at the corresponding photos on the Internet.
Step 8
Refine the details of the background, indicate more precisely the foreground. Then complete the drawing with a pencil drawing the various details - the rider's face, clothing details, the horse's face, hooves, tail, and more.
Step 9
Choose materials to work with in color, or finish off with a simple pencil. Try to superimpose strokes and strokes in shape. Don't forget about the shadows and the foreground of the drawing.


