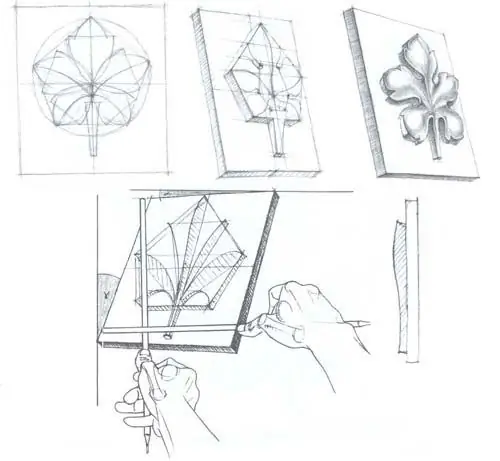
In the process of teaching students of art schools, drawing objects from nature is widely used. Some of the most convenient models for this are gypsum rosettes, capitals and other architectural details, since they have a clear structure and relief of forms. Creating a high-quality image of a plaster outlet is impossible without following a certain sequence of actions.

It is necessary
- - pencils of different densities;
- - good quality thick paper.
Instructions
Step 1
Start drawing the plaster rosette by outlining the rectangular slab by marking the overall shape, bottom, top and side borders. Also determine the dimensions of the slab taking into account the perspective and tilt of the object in space. Please note that the angle and proportions of the outlet will largely depend on the correct definition of the plate.
Step 2
Sketch out the lines of symmetry, they will be the basic basis of the drawing. Then, depending on the shape of the rosette, draw the main lines of the ornament, for example, draw a circle that defines the leaves. Enclose a regular polygon in it (the number of corners depends on the number of petals). Mark with dots all the main nodes of the elements. If the rosette is at an angle, position all shapes proportionally for perspective.
Step 3
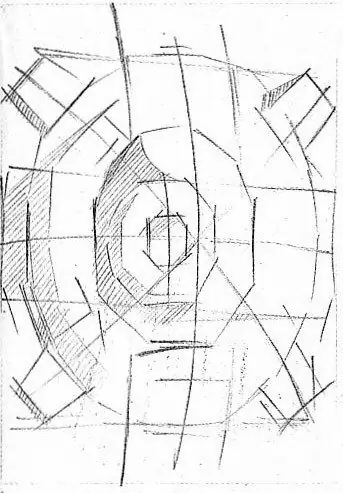
Draw the main lines of the structure, large petals and leaves with light translucent lines. Carefully draw even invisible lines, since the slightest mistake will disrupt the course of constructing the relief of the ornament and distort the finished rosette. Create a general silhouette, while making sure that all parts are proportional to each other.

Step 4
To make the outline more detailed and understandable, conditionally mark the main shadow spots with a few strokes.
Step 5
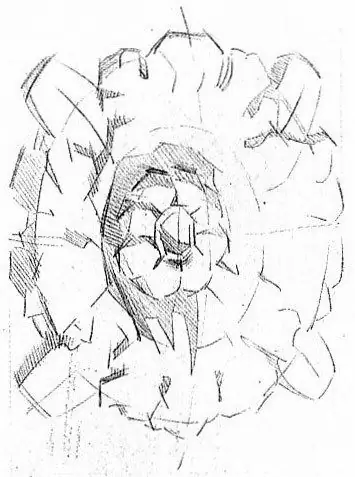
Gradually "chop off" all unnecessary and add small details. Get the maximum volume and concreteness of all forms, but do not pollute the drawing with too many "search" pencil marks.

Step 6
Start creating a tonal solution for the picture. Do not shade everything in a row, otherwise you will destroy the impression of the bulkiness of the outlet. Sculpt the shape with strokes in the direction of the surface. Pay attention to the correspondence of the degree of illumination in the illustration and the real socket. Do not dwell on one part for a long time, try to work on the entire composition at the same time so that the overall shading density is approximately the same throughout the image.
Step 7
Finalize all the details. Move some distance away from the drawing and try to see it and nature at a glance. Do not allow variegation, try to correctly convey color shades in a black and white drawing, for this, establish a connection between the tones, compare them in lightness and saturation.


